Plugins for eCommerce platforms
Klix provides plugins for most popular eCommerce platforms so that Klix can be integrated as simple as other plugins you might be already using in your shop. Integration using eCommerce platform plugin consists of a plugin installation and configuration. Plugin installation instructions differs between eCommerce platforms but configuration usually consists of two steps:
- Enabling Klix as a payment method.
- Specifying Brand ID and Secret key in plugin settings.
If you have already signed Klix merchant agreement and have received production environment API keys then those should be used in these instructions. Otherwise there's an option to use test-environment credentials to preview Klix payment gateway solution functionality.
At Klix, our main focus is payment processing. We do our best to support and help with issues related to different e-commerce platforms. However, please note that some problems may come from the platforms themselves, and these are outside of Klix’s control.
We provide plugins to make integration easier, but these are additional tools, and our work on them depends on our priorities. For the most reliable experience, we recommend connecting directly to Klix instead of using a third-party platform.
eCommerce platforms
Magento
Compatible versions: 2.0+
Installation instructions:
- Connect to Magento server terminal.
- Create and navigate to a directory
app/code/in your Magento root directory if does not exist already. - Download Klix Magento plugin:
curl https://klixecom.blob.core.windows.net/modules/magento/klix-magento.zip --output magento-v2.0+.zip - Extract Klix Magento plugin archive contents to
app/code/directory so that there'sapp/code/SpellPayment/Magento2Moduledirectory structure after that:unzip -q magento-v2.0+.zip && rm magento-v2.0+.zip - Navigate to Magento root directory and run
php bin/magento module:enable SpellPayment_Magento2Module --clear-static-content - Run
php bin/magento setup:upgrade -
Run
php bin/magento setup:static-content:deploy(note that message "Manual static content deployment is not required in "default" and "developer" modes" can be ignored).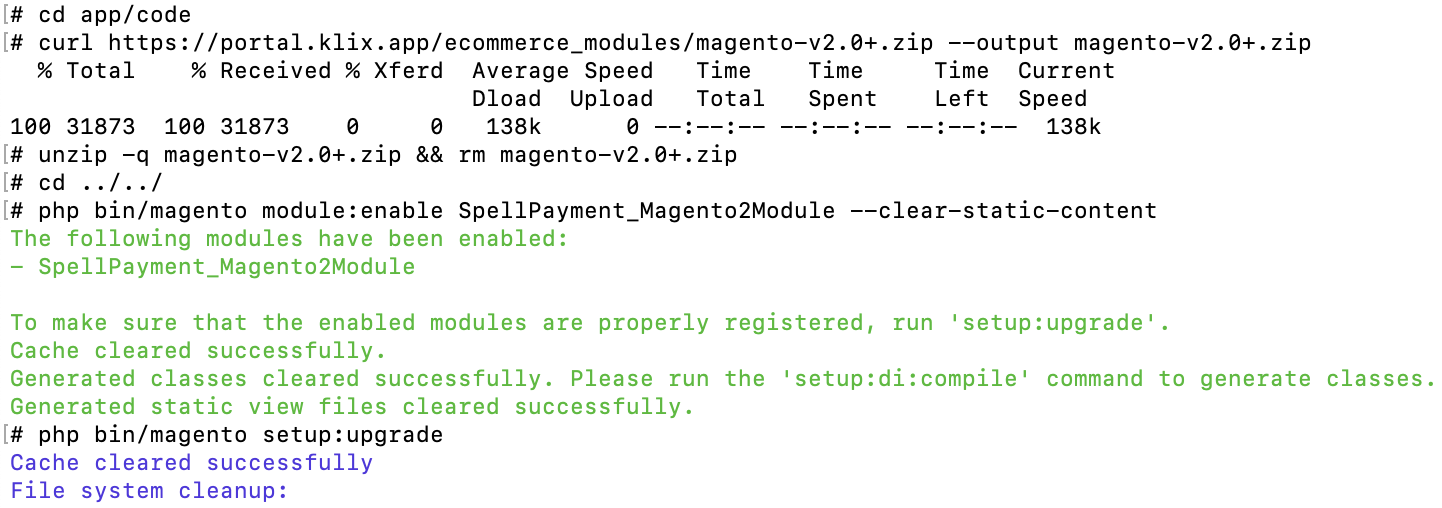
-
Log in to your Magento store admin panel.

-
Go to
STORES->Configuration
-
Open
SALES->Payment methods. FindCitadele E-Commerce Gatewayand click onConfigure.
-
Enter Brand ID and Secret key provided by Klix contact person, set Enable API to
Yesand click onSave Config.
Mozello
Installation instructions:
- Log in to your Mozello store administration portal.
-
Open
Catalog->Catalog settings->Paymentpage and locateCredit cards / payment platformssection.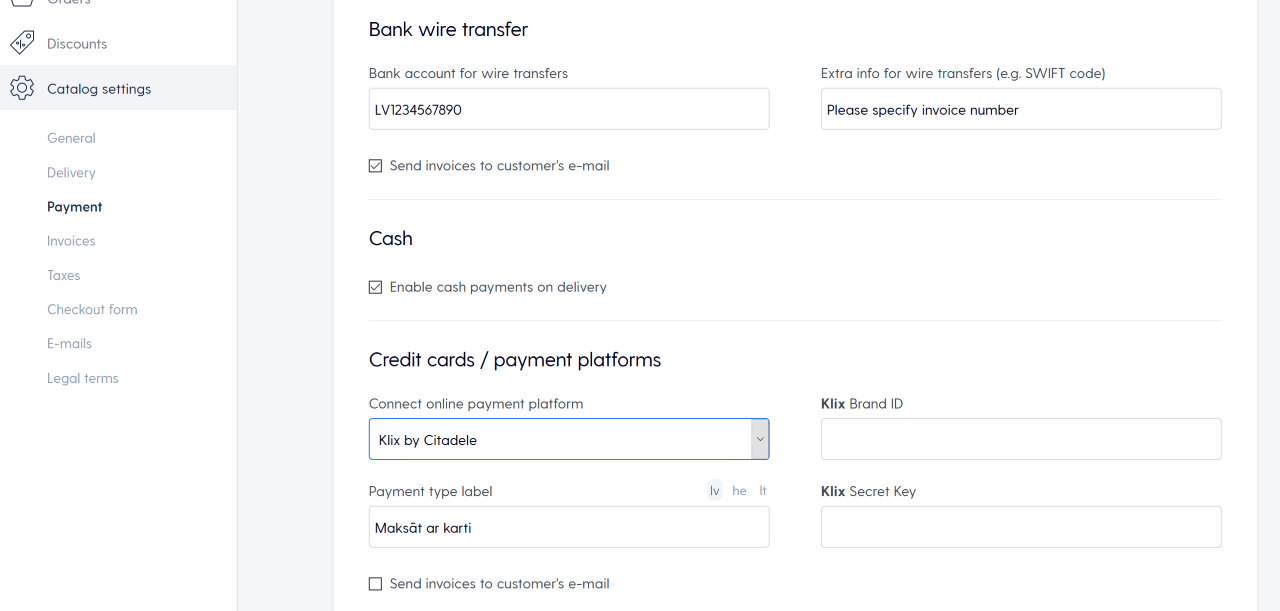
-
Select "Klix by Citadele" in
Connect online payment platformdrop down and enter Brand ID and Secret key provided by Klix contact person. Change payment method title in checkout form if needed. - Go to your Mozello store checkout page and check that Klix payment method is available. It's advisable to test Klix integration using a real card.

OpenCart
Compatible versions: 3.0-4+
Installation instructions:
- Download plugin by Opencart version:
-
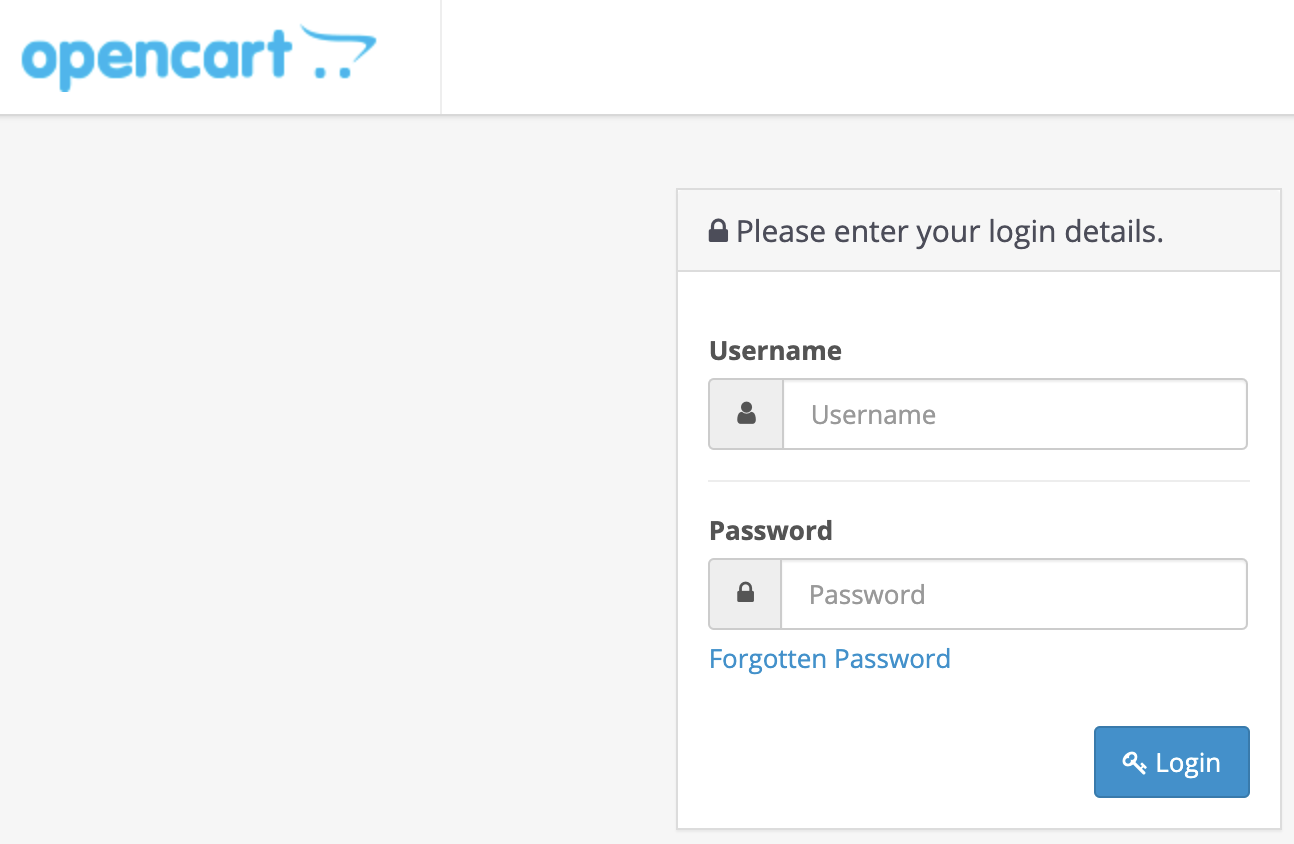
Log in to your OpenCart store admin panel by specifying authentication credentials.
-
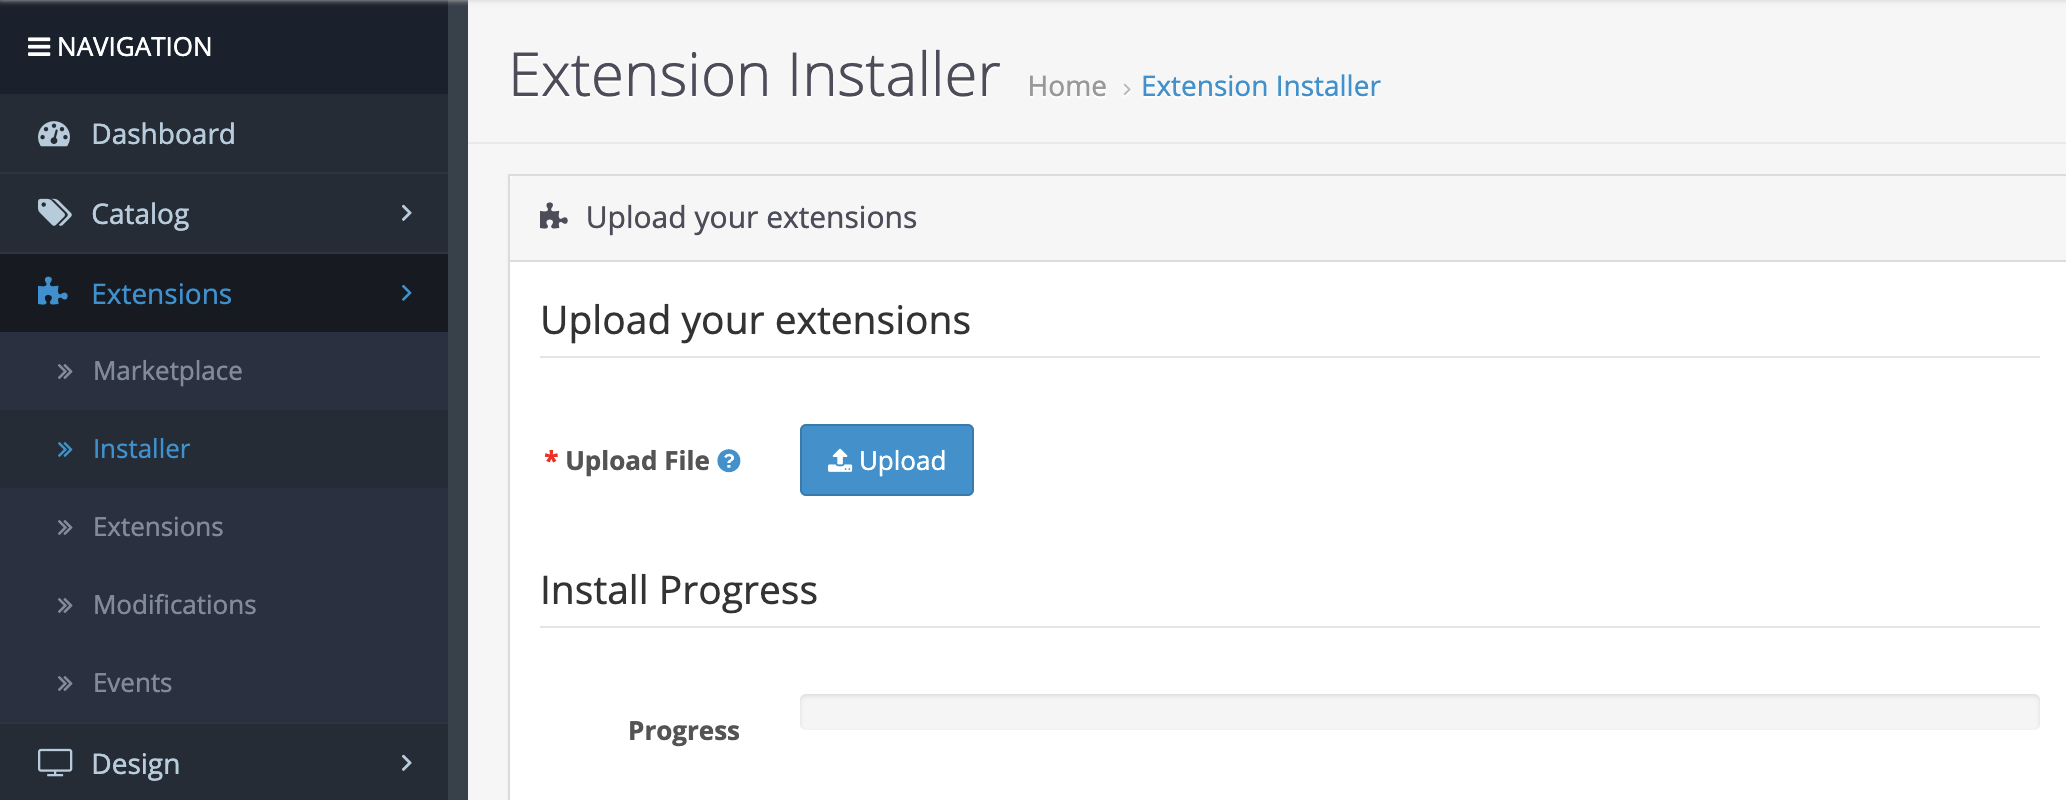
Open "Extensions" -> "Installer" section from the main menu.
-
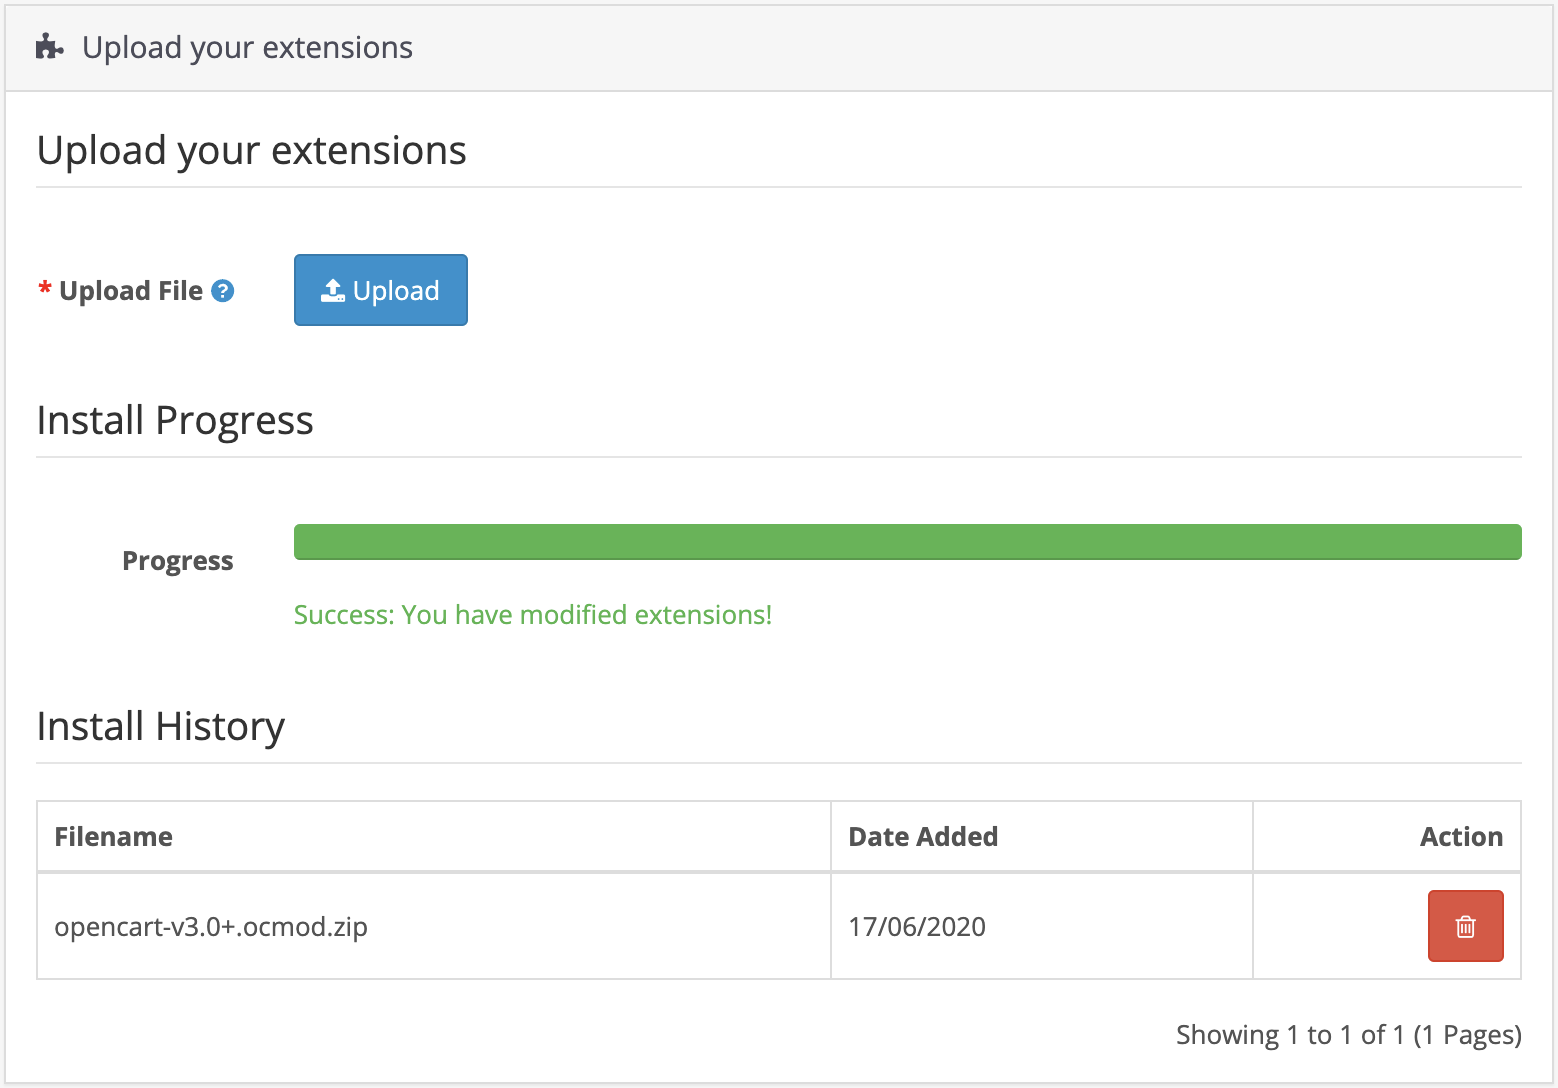
Press "Upload" button and select Klix OpenCart extension file downloaded in the first step. Progress bar will indicate extension upload progress.
-
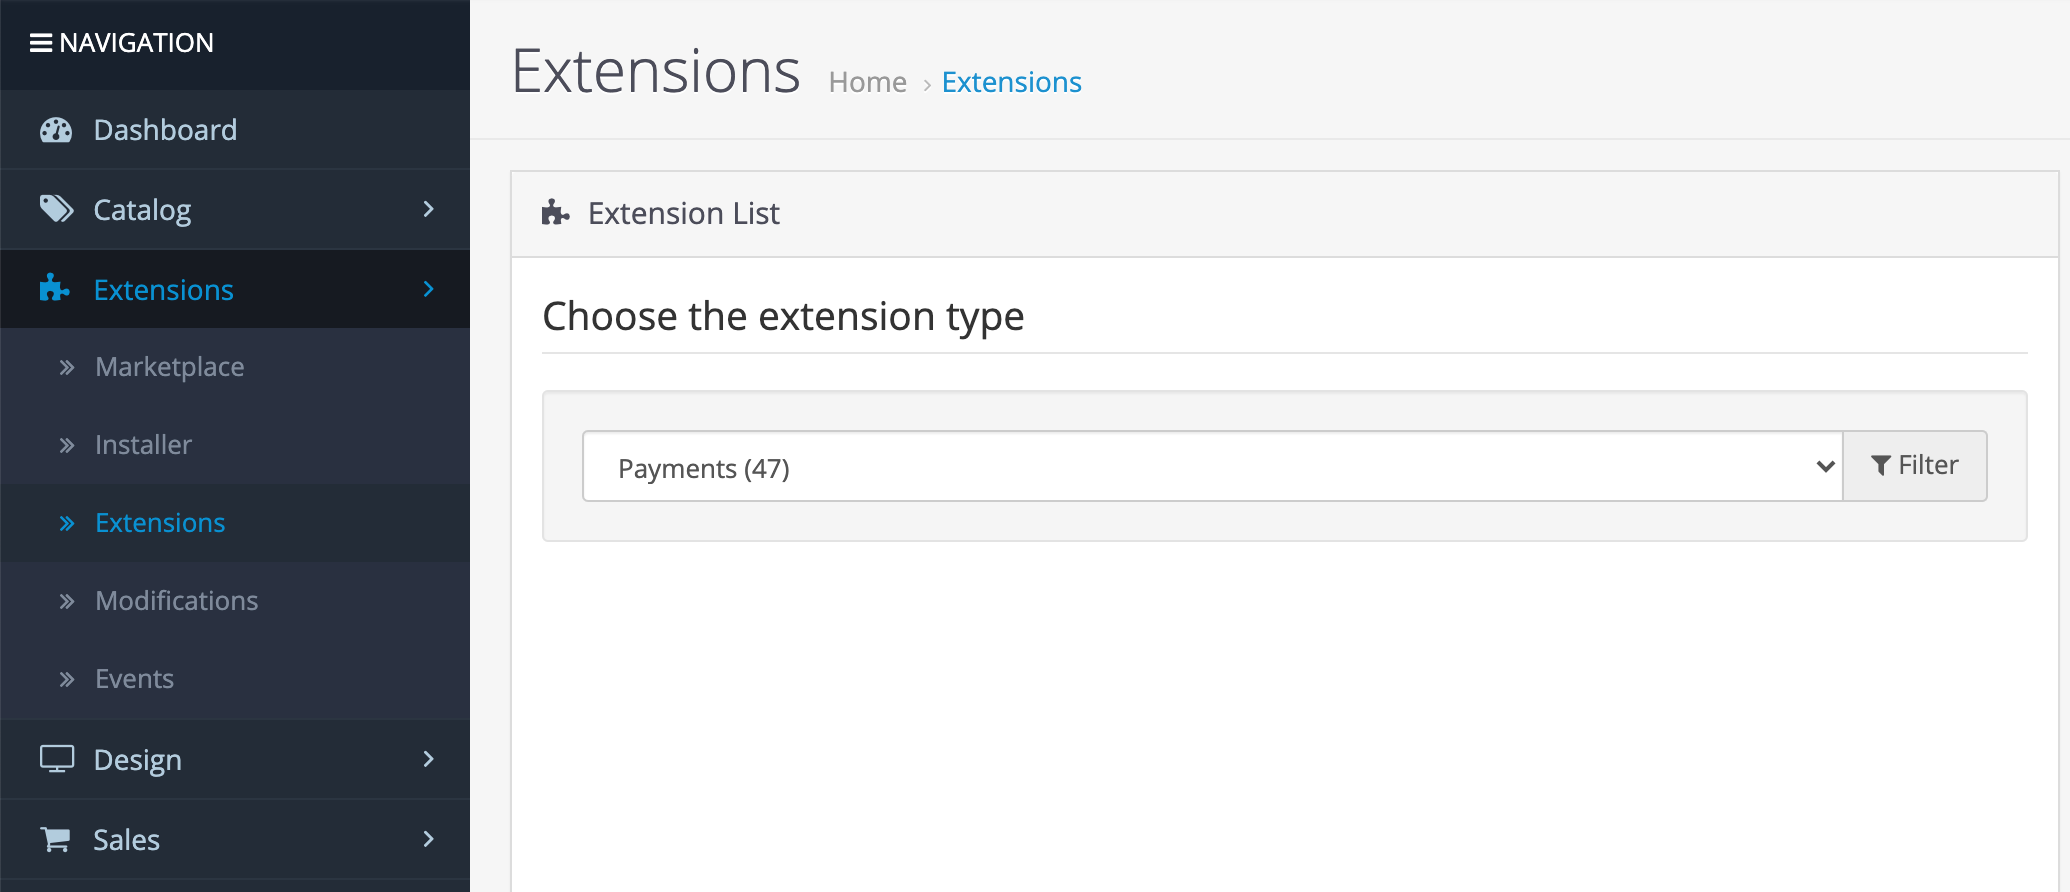
Open "Extensions" -> "Extensions" section from the main menu and filter payment extensions.
-
Find Klix extension in extension list and press "+" (Install).

-
Press "Edit" Klix extension.

-
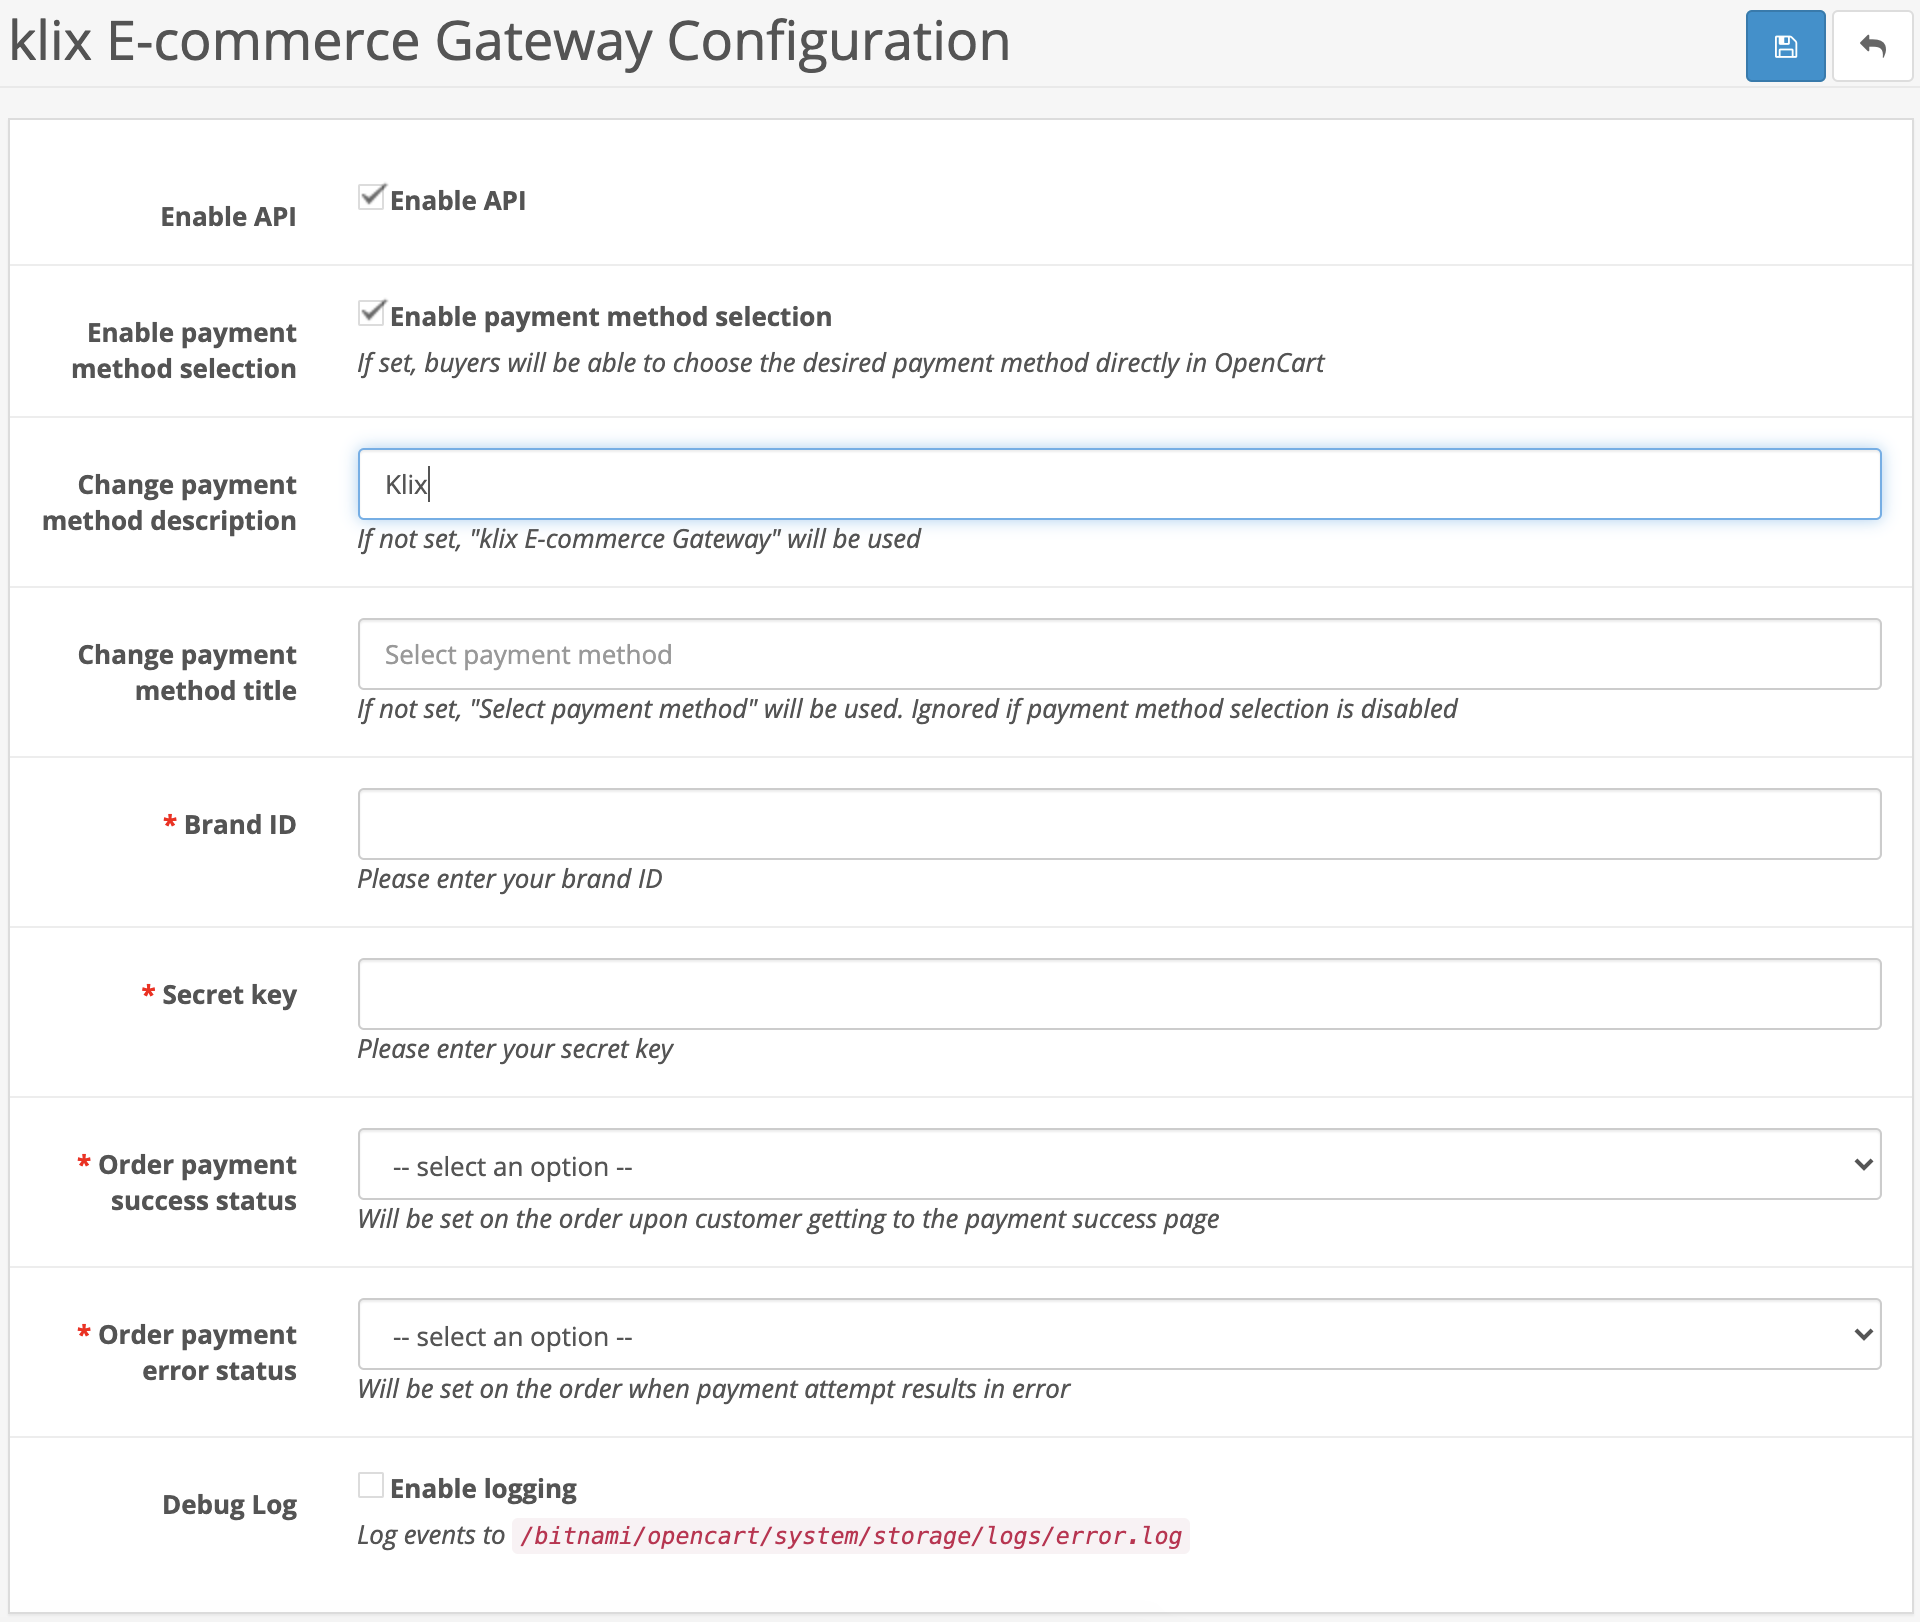
Enter Brand ID and Secret key provided by Klix contact person, mark "Enable API" to enable Klix payment method and select order payment success and error statuses.
-
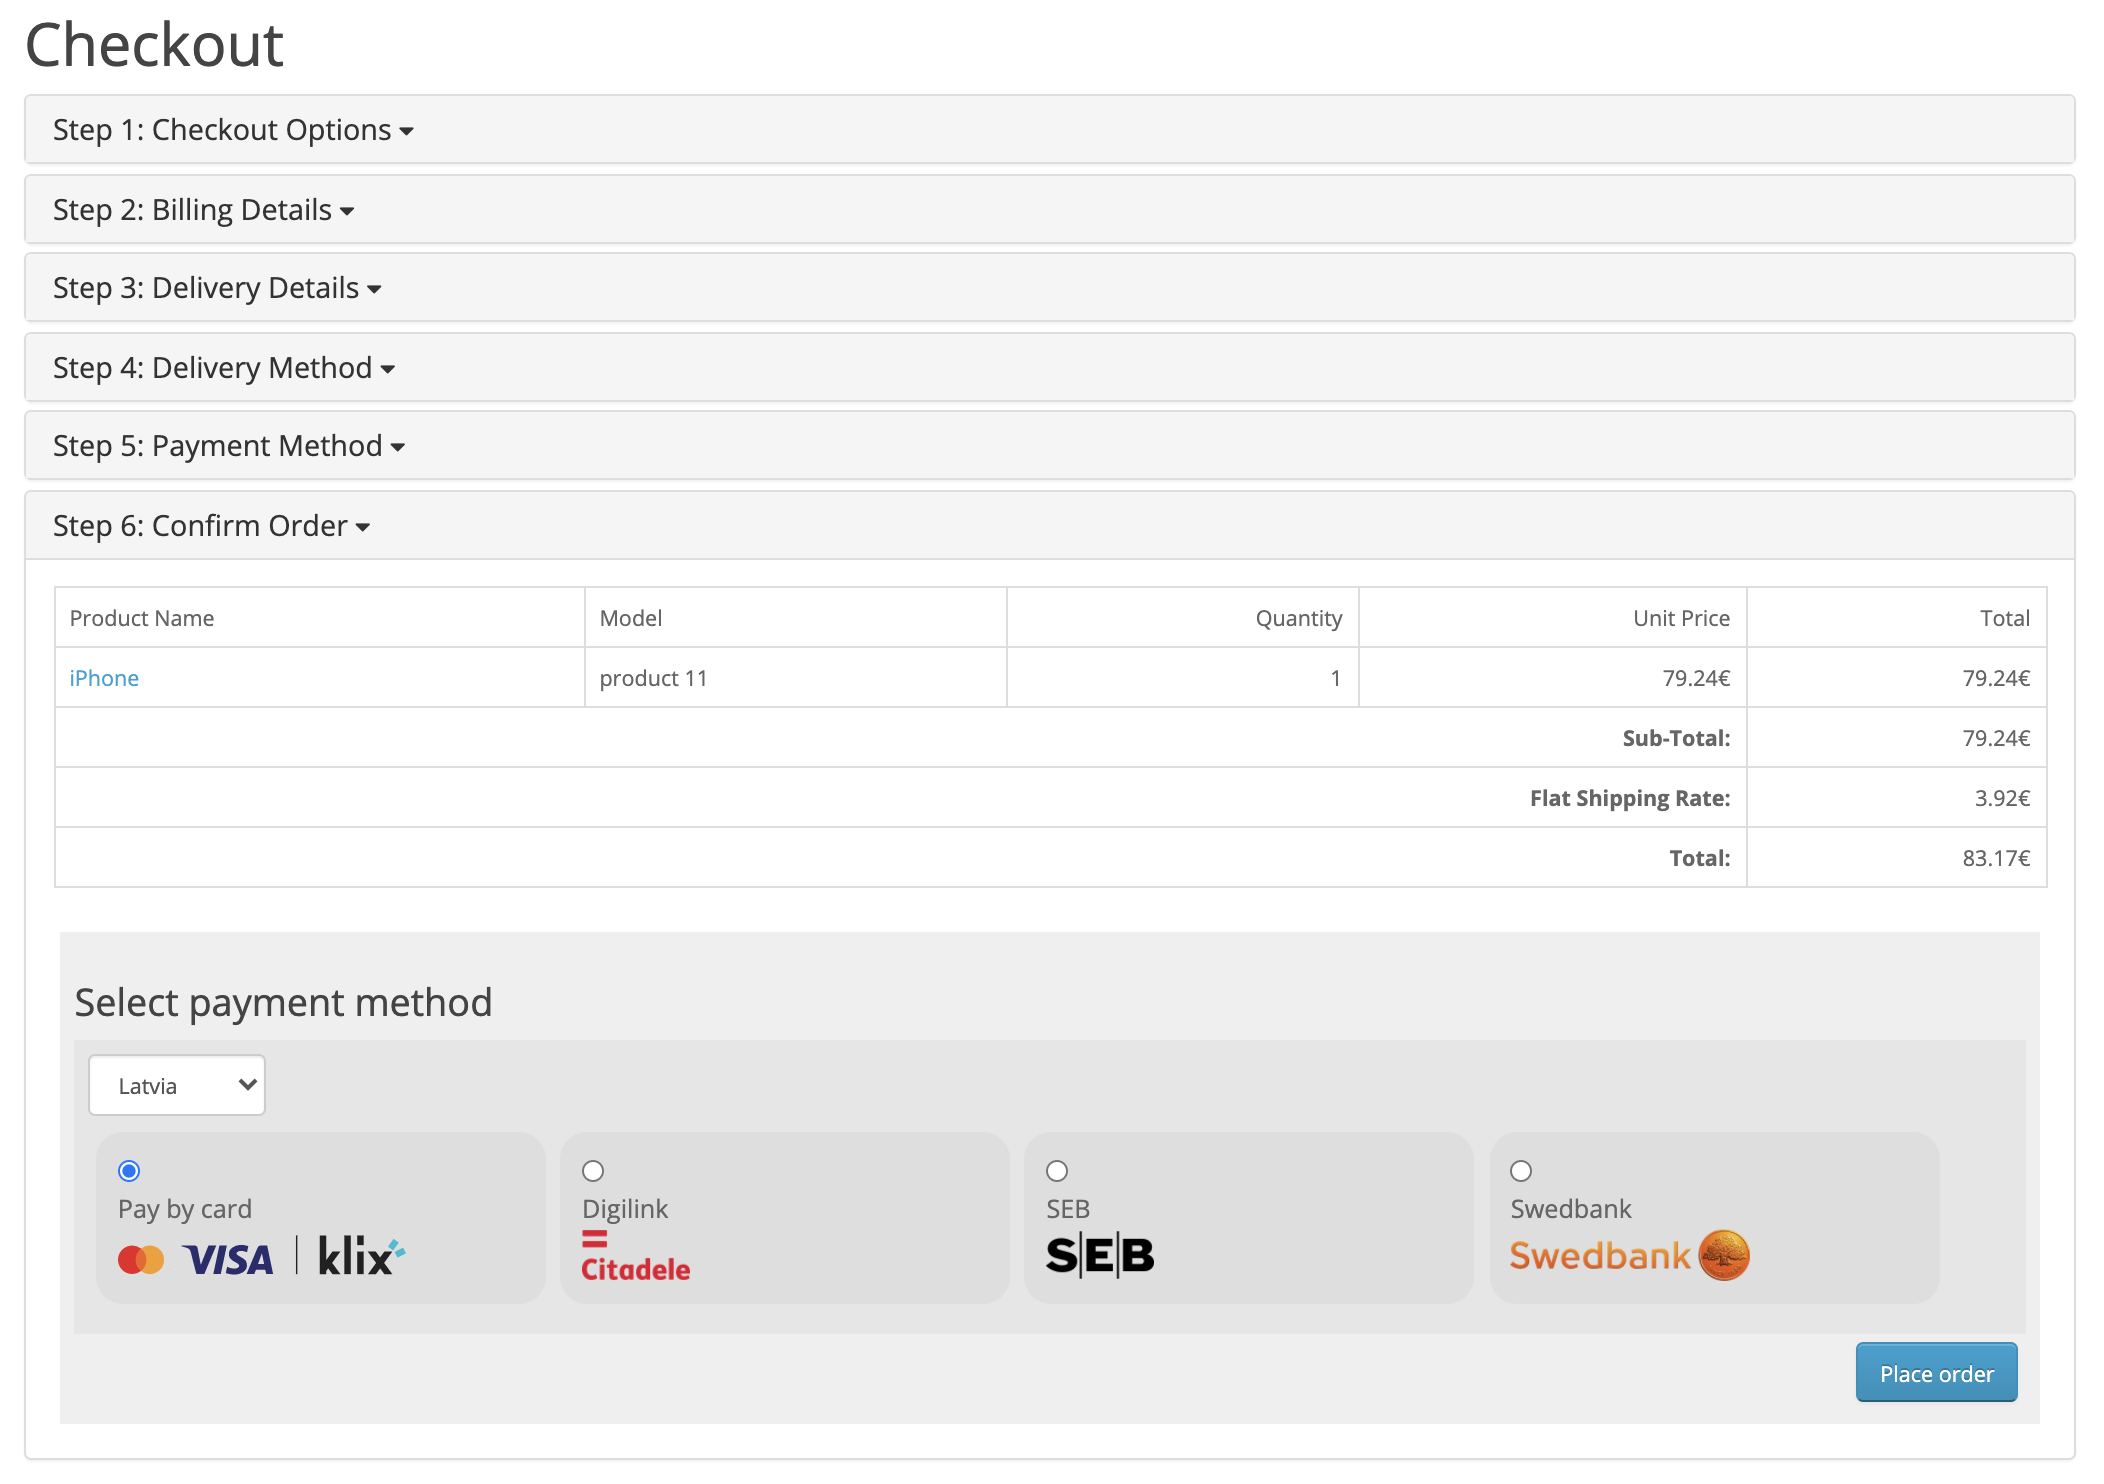
Go to your OpenCart store checkout page and check that Klix payment method is available. It's advisable to test Klix integration using a real card.
-
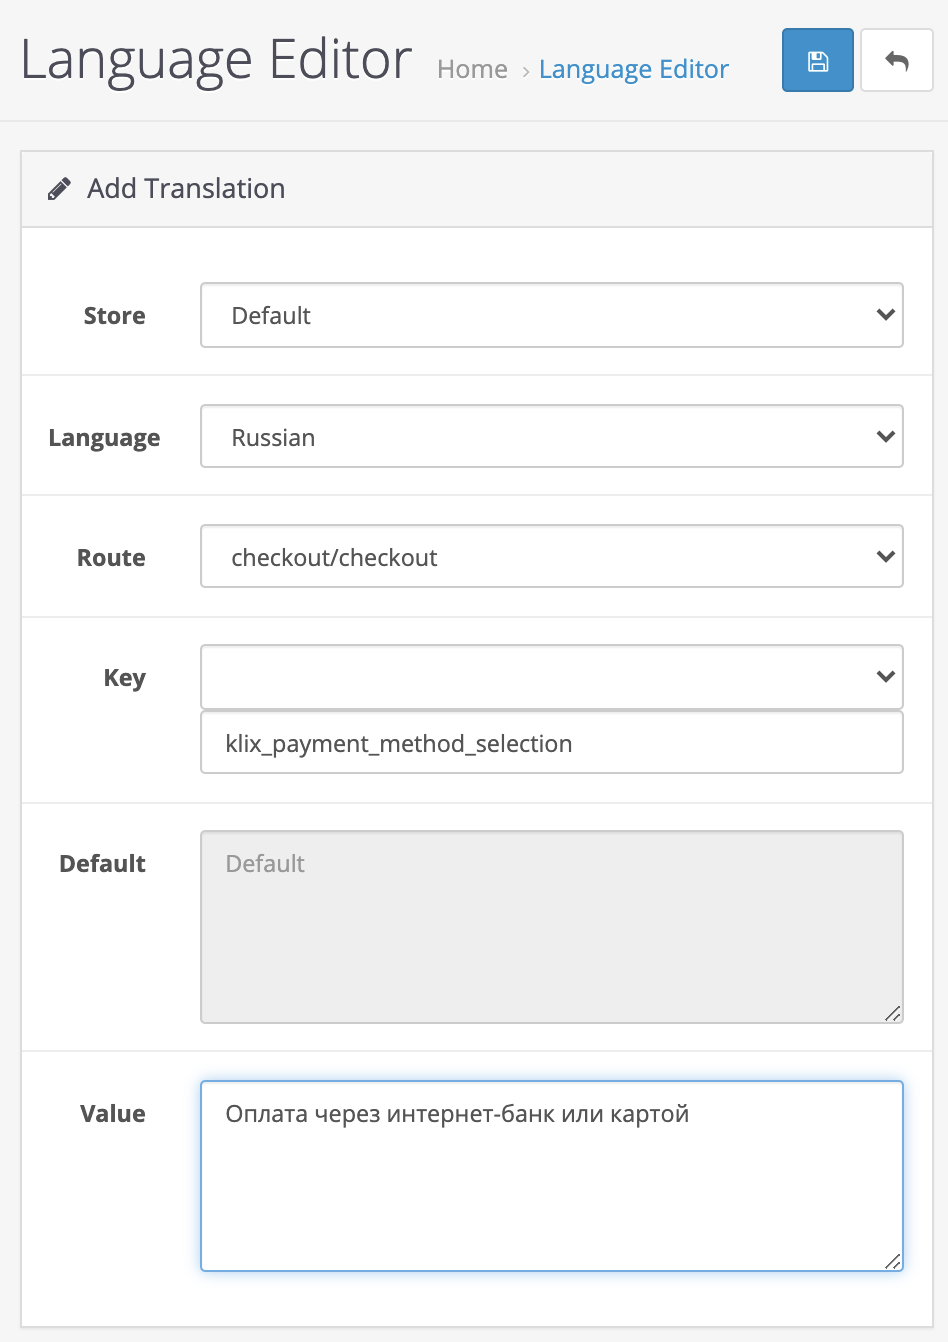
Localize Klix checkout page (optional). By default all Klix payment method section text elements are in English. In order to add translations for Klix section to your store checkout page go to OpenCart store admin panel, open "Design" -> "Language Editor". Press on "+" (add new) button and for each language create translations for required keys: "klix_payment_method_selection" (Klix payment section title), "klix_place_order" (Klix pay button title). Note that empty translation key should be selected in translation key drop-down and one of previously mentioned Klix translation keys should be copied to text input field below translation key drop-down. In a given example translation for default "Select payment method" label is defined for Russian. In a similar way translation for pay button can be changed, the only difference is in translation key which should be "klix_place_order". Note that route should always be "checkout/checkout".
-
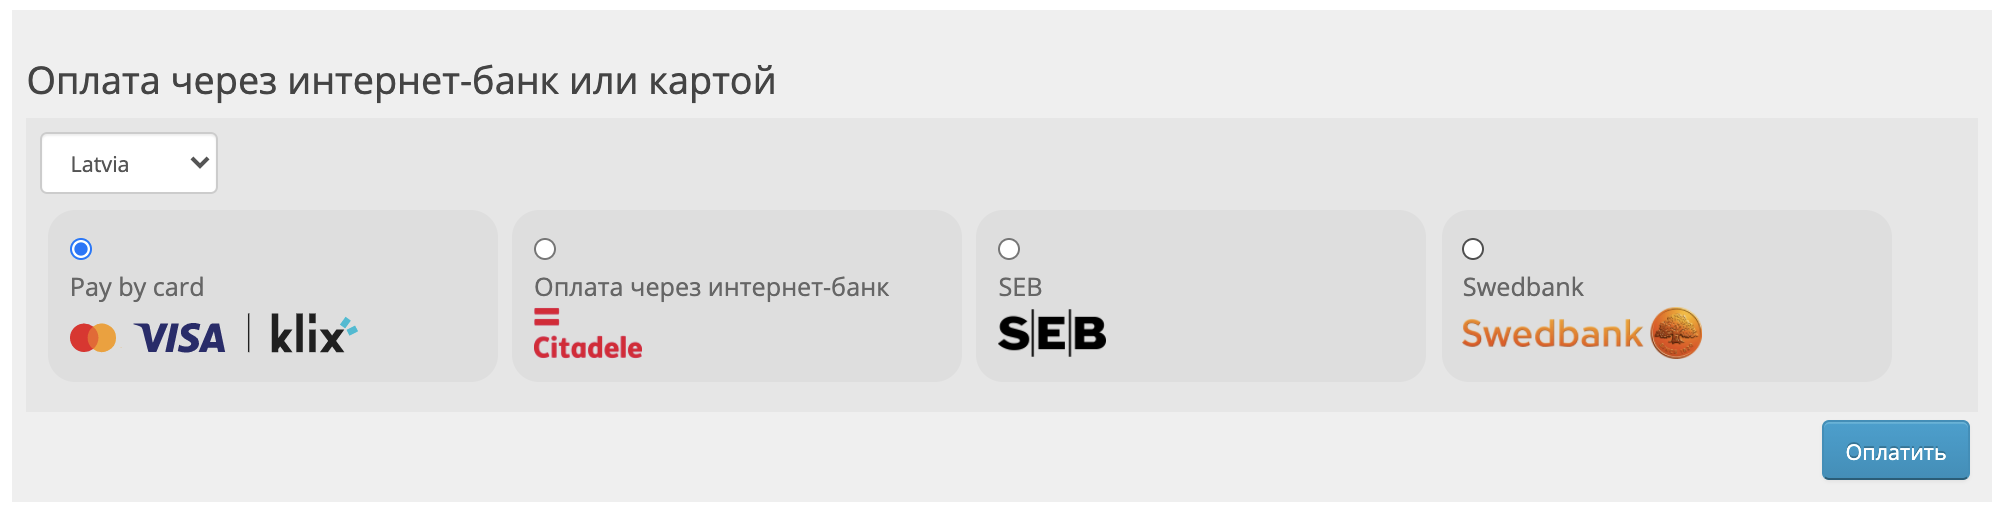
Go to your OpenCart store checkout page and preview translations by switching to desired language.
-
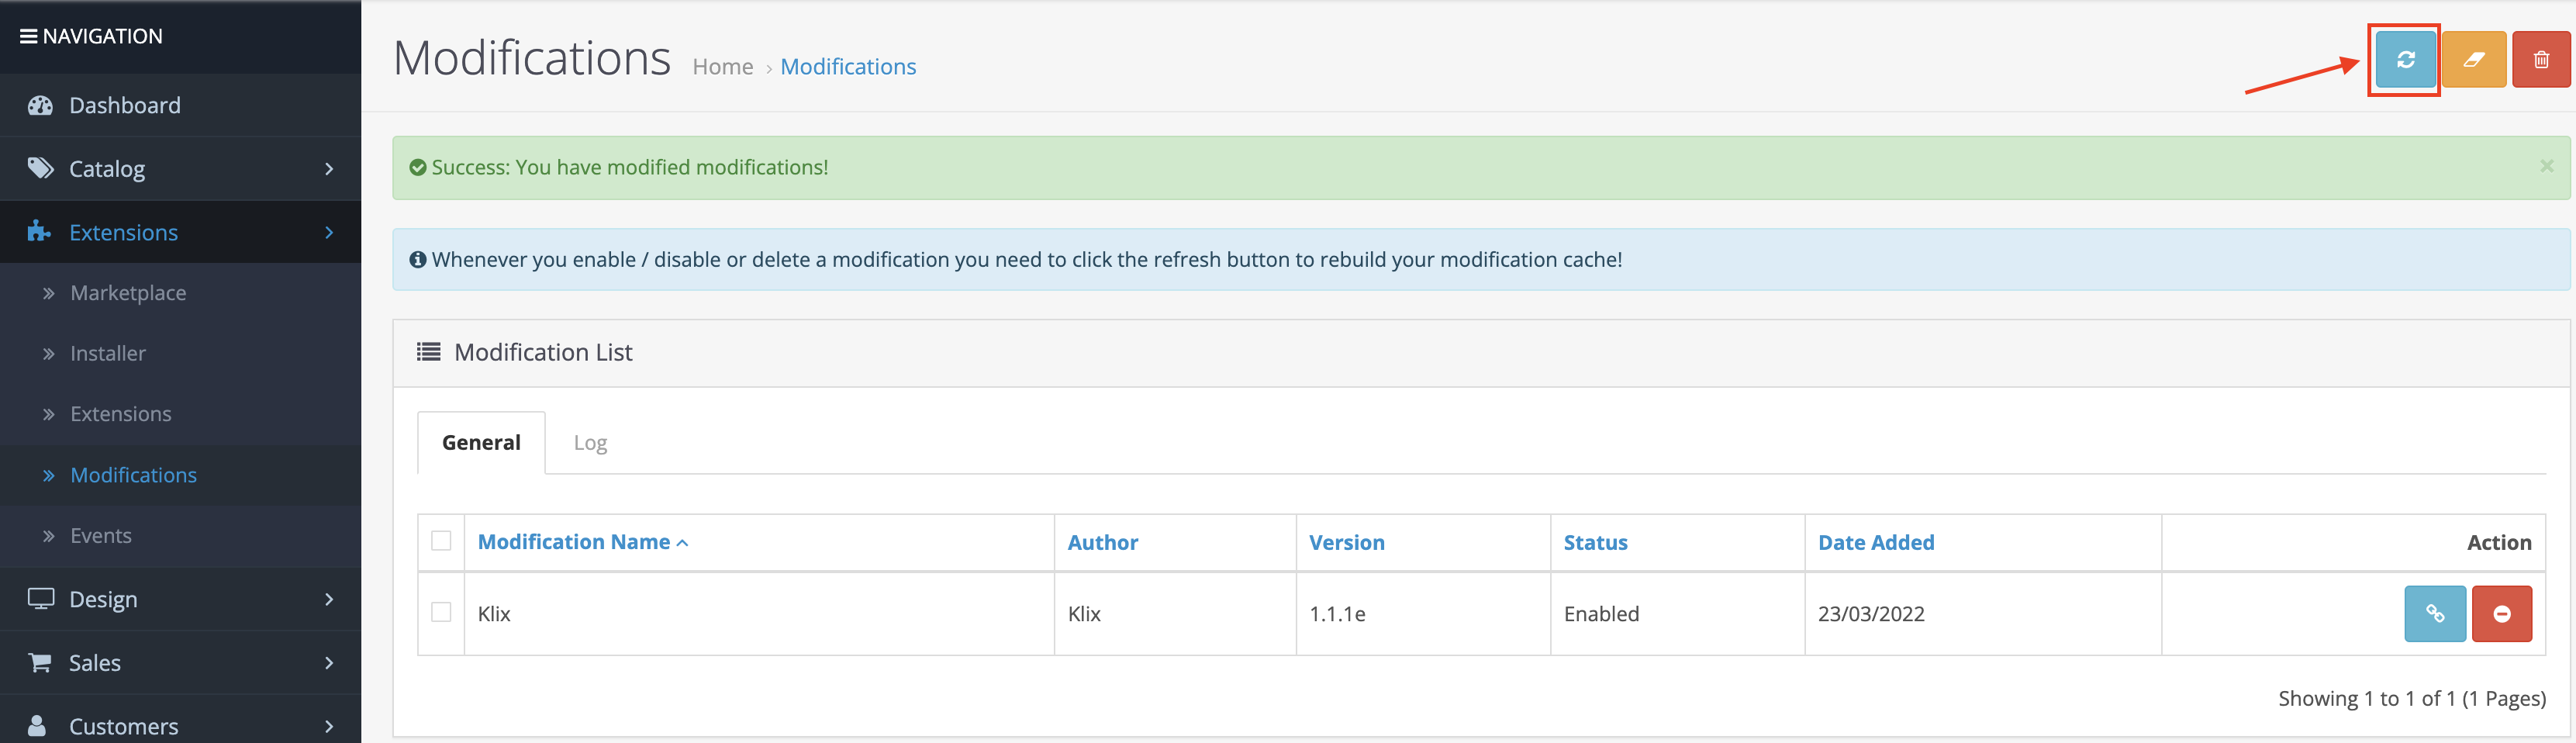
Pay Later widget will be enabled after modification refresh. Open "Extensions" -> "Modifications" section. Click on refresh button.
PrestaShop
Compatible versions: 1.7+
Installation instructions:
-
Download plugin by Prestashop version:
-
Log in to your PrestaShop store admin panel by specifying authentication credentials.

-
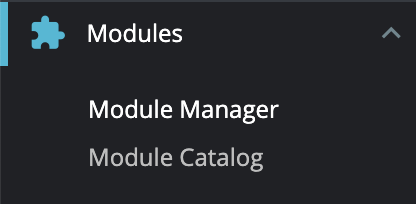
Open "Modules" -> "Module Manager" section.
-
Press "Upload a module" button.

-
Select a module file downloaded in the first step. Selected module file will be installed.

-
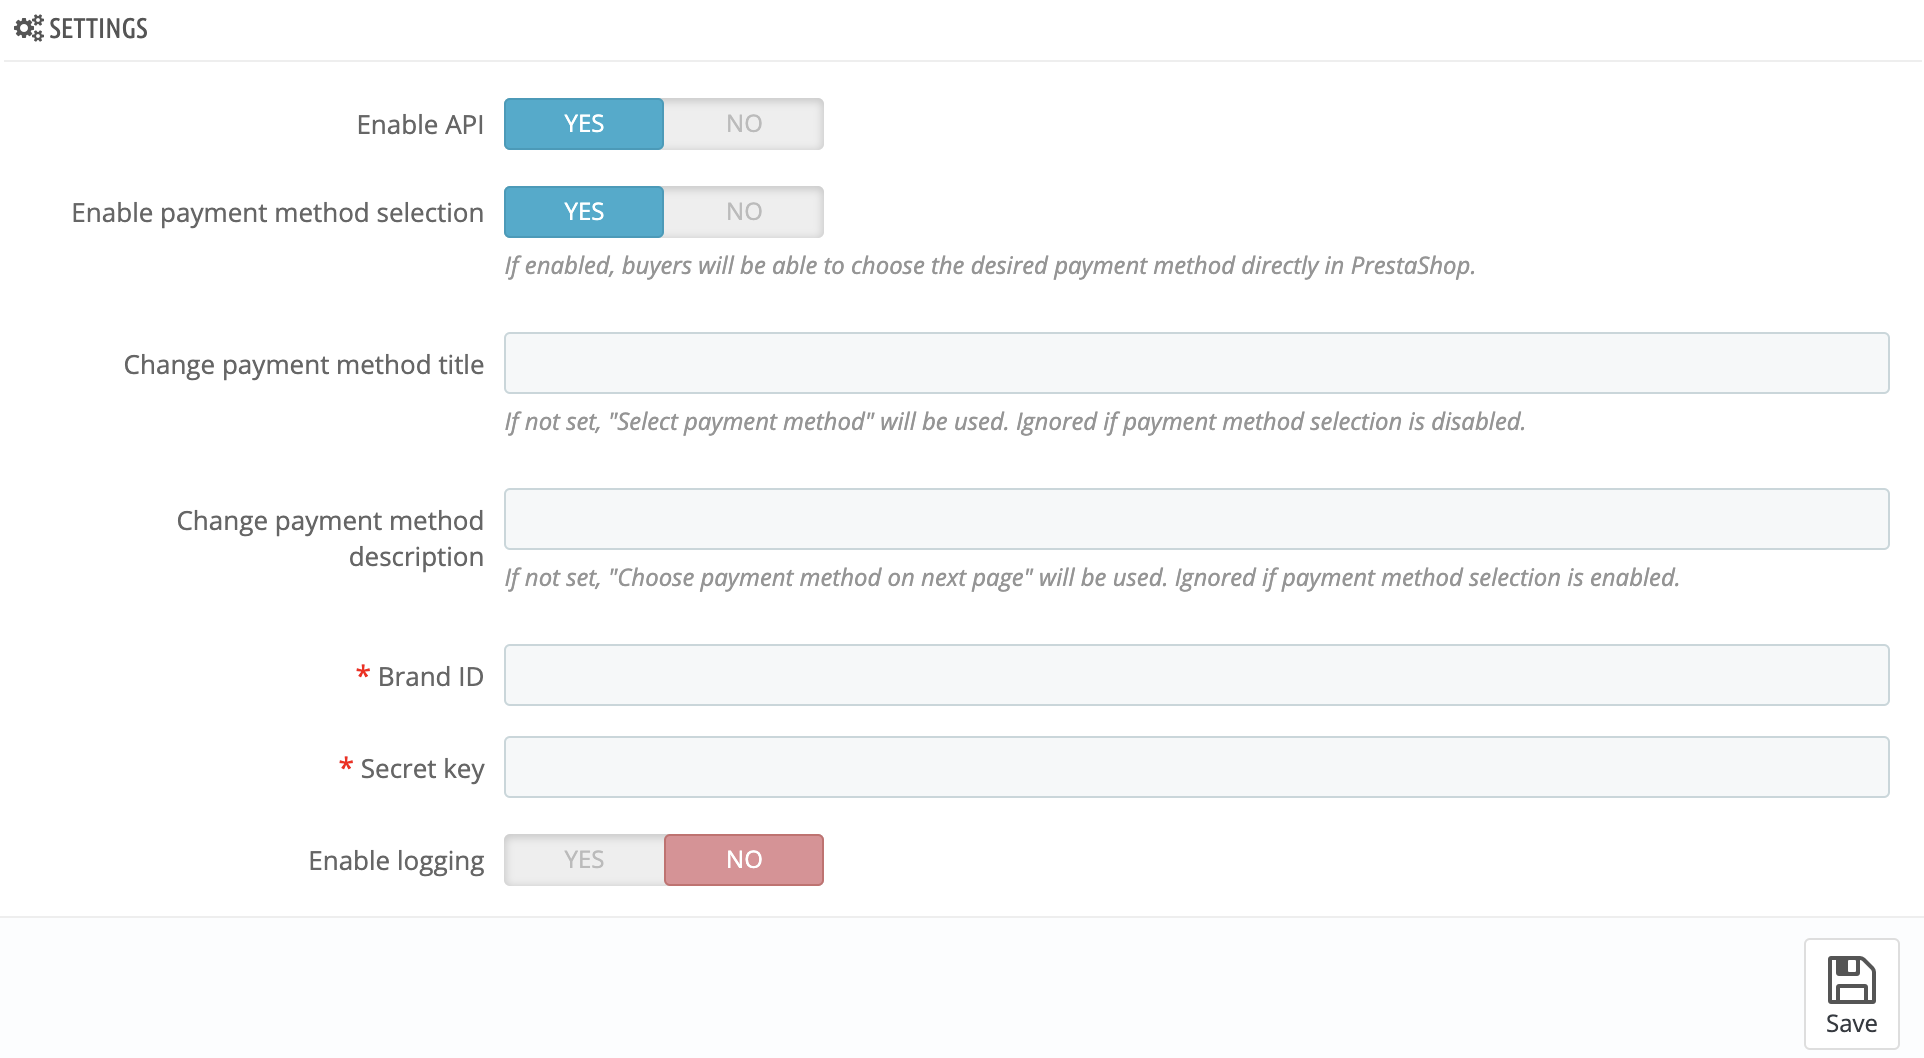
After module is installed press "Configure" button.

-
Enter Brand ID and Secret key provided by Klix contact person, mark "Enable API" to enable Klix payment method.
-
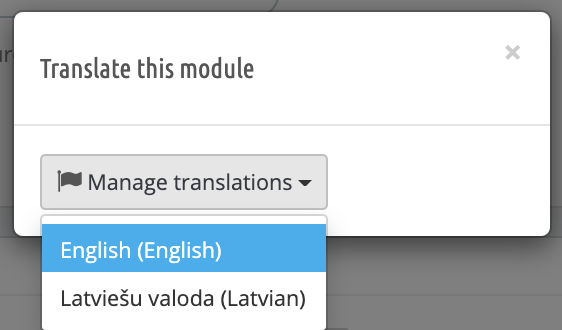
Localize Klix checkout page (optional). By default all Klix payment method section text elements are in English. In order to add translations for Klix section to your store checkout page press "Translate" button.

-
Then choose your store language for which you would like to enter translations.
-
And provide translations for all provided texts.

-
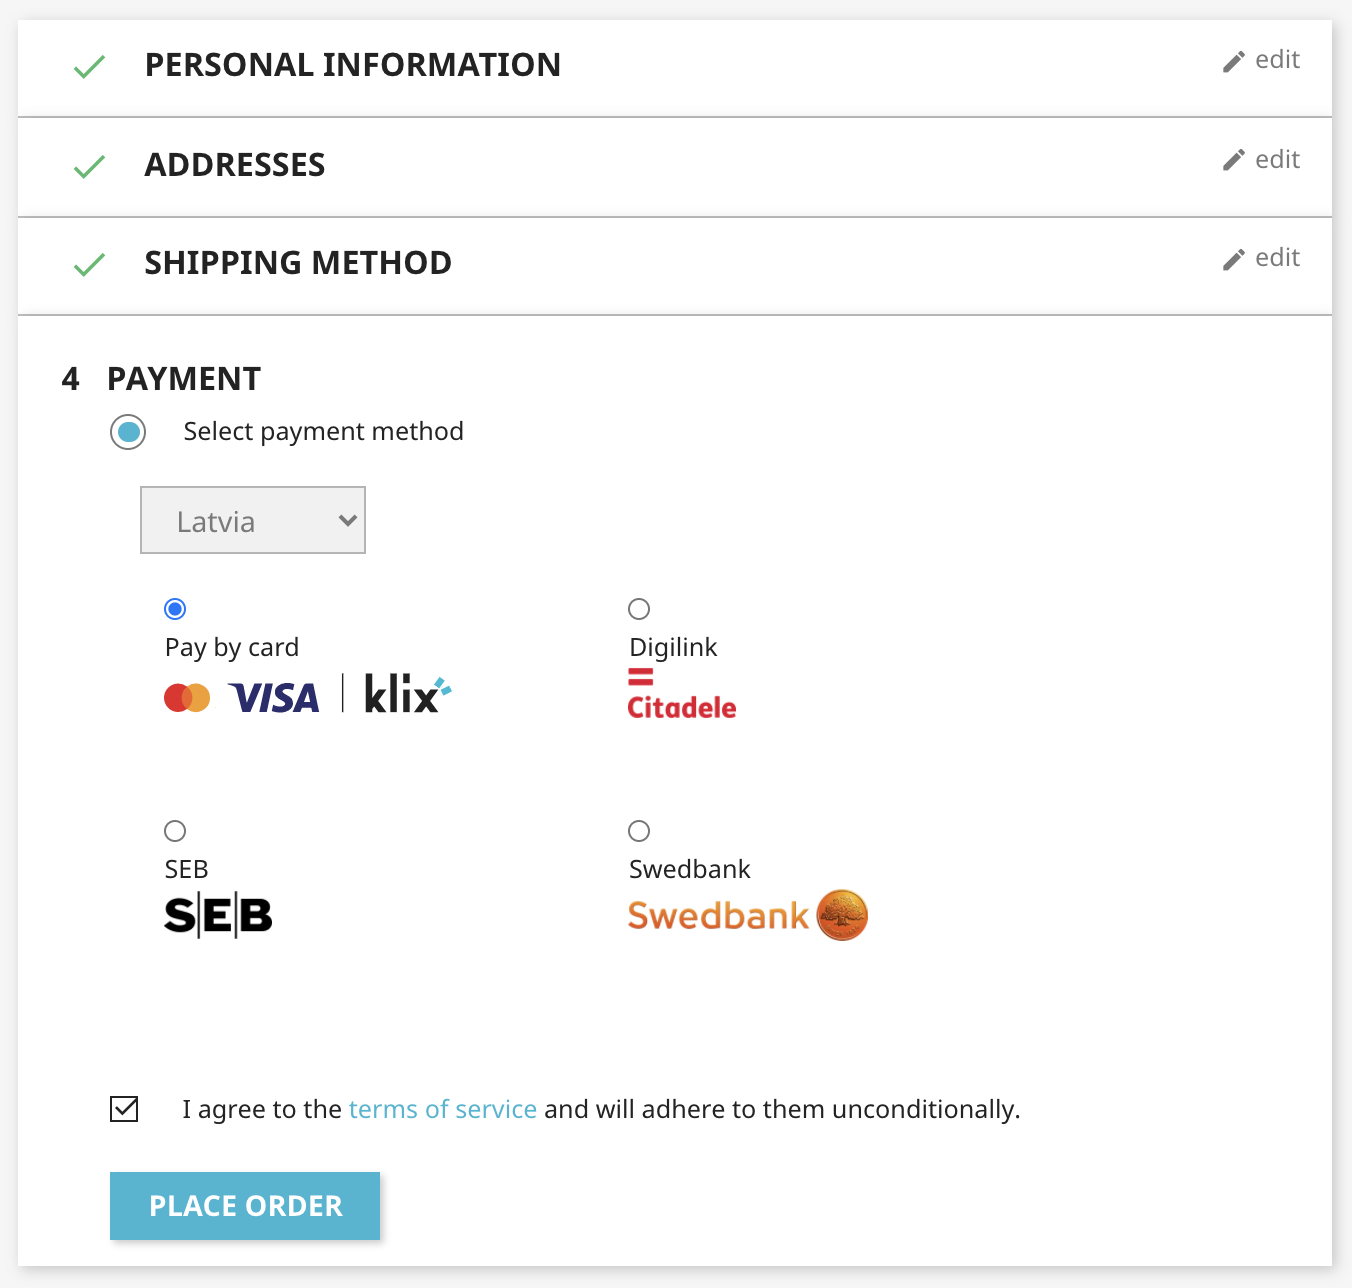
Go to your PrestShop store checkout page and check that Klix payment method is available. It's advisable to test Klix integration using a real card.
Shopify
Installation instructions:
- Login to Business Portal
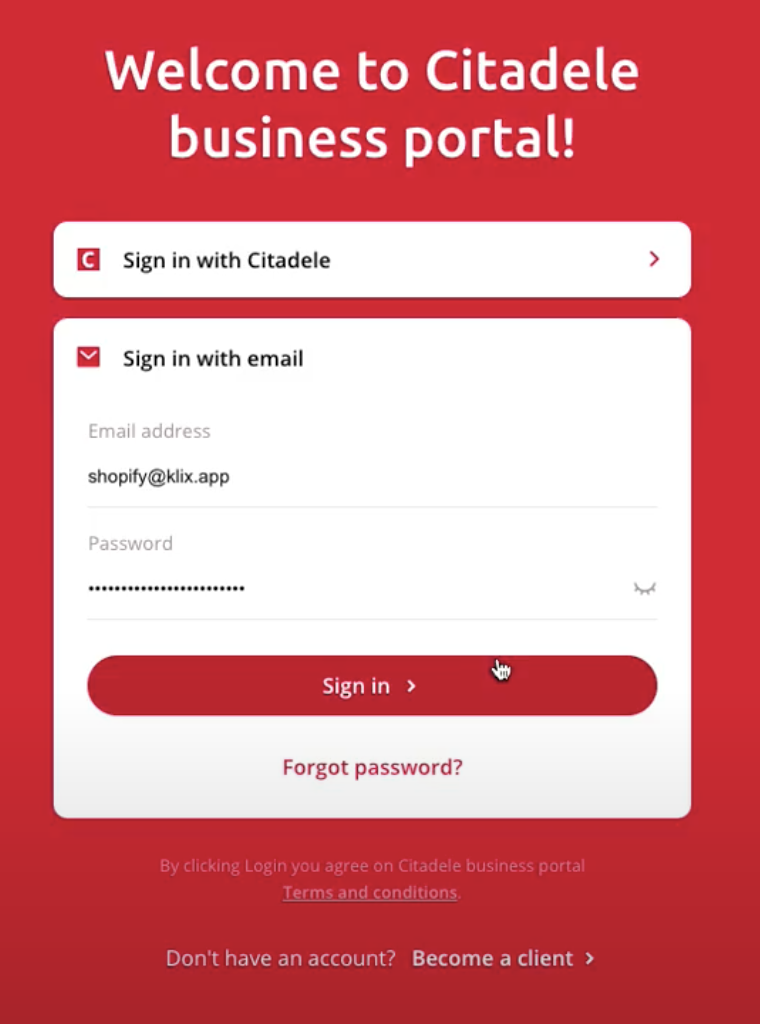
- After successful login open Shopify app store in new tab and install the plugin.
- During instalation Shopify will redirect to our Business Portal page to confirm Shopify store integration.
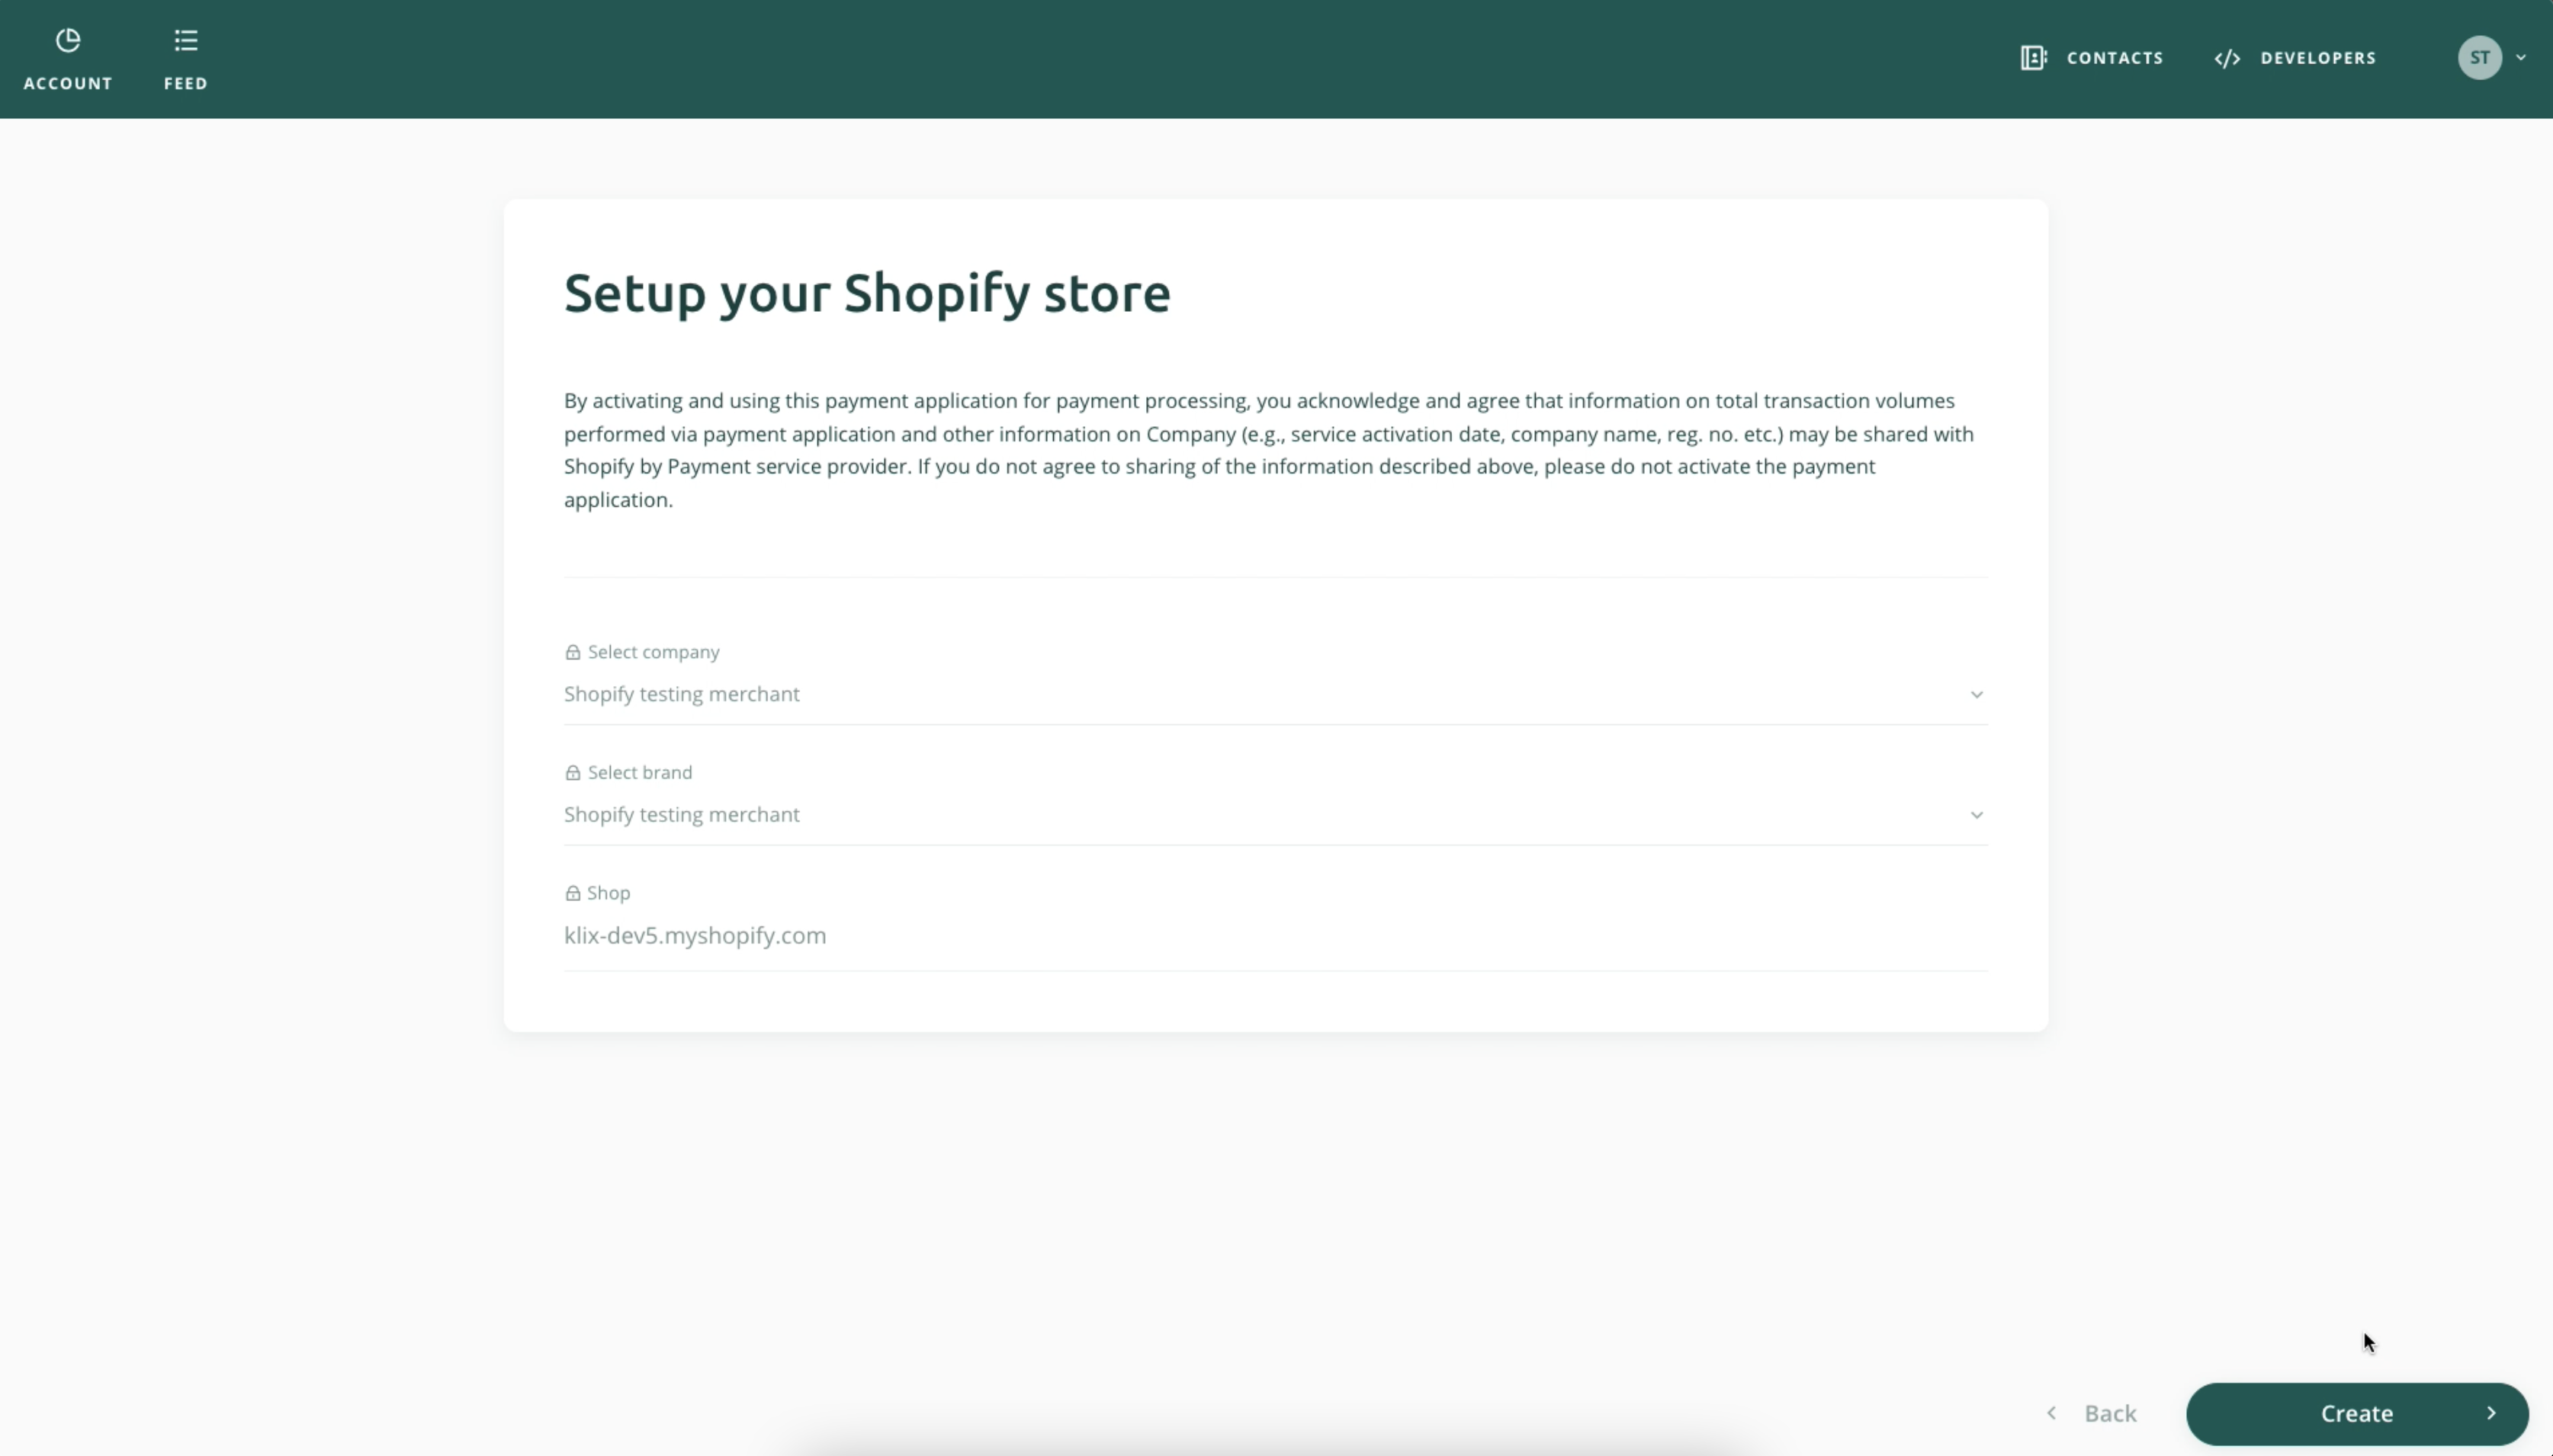
- Business Portal will redirect back to Shopify settings to settings view. In settings click on Activate Klix payments.
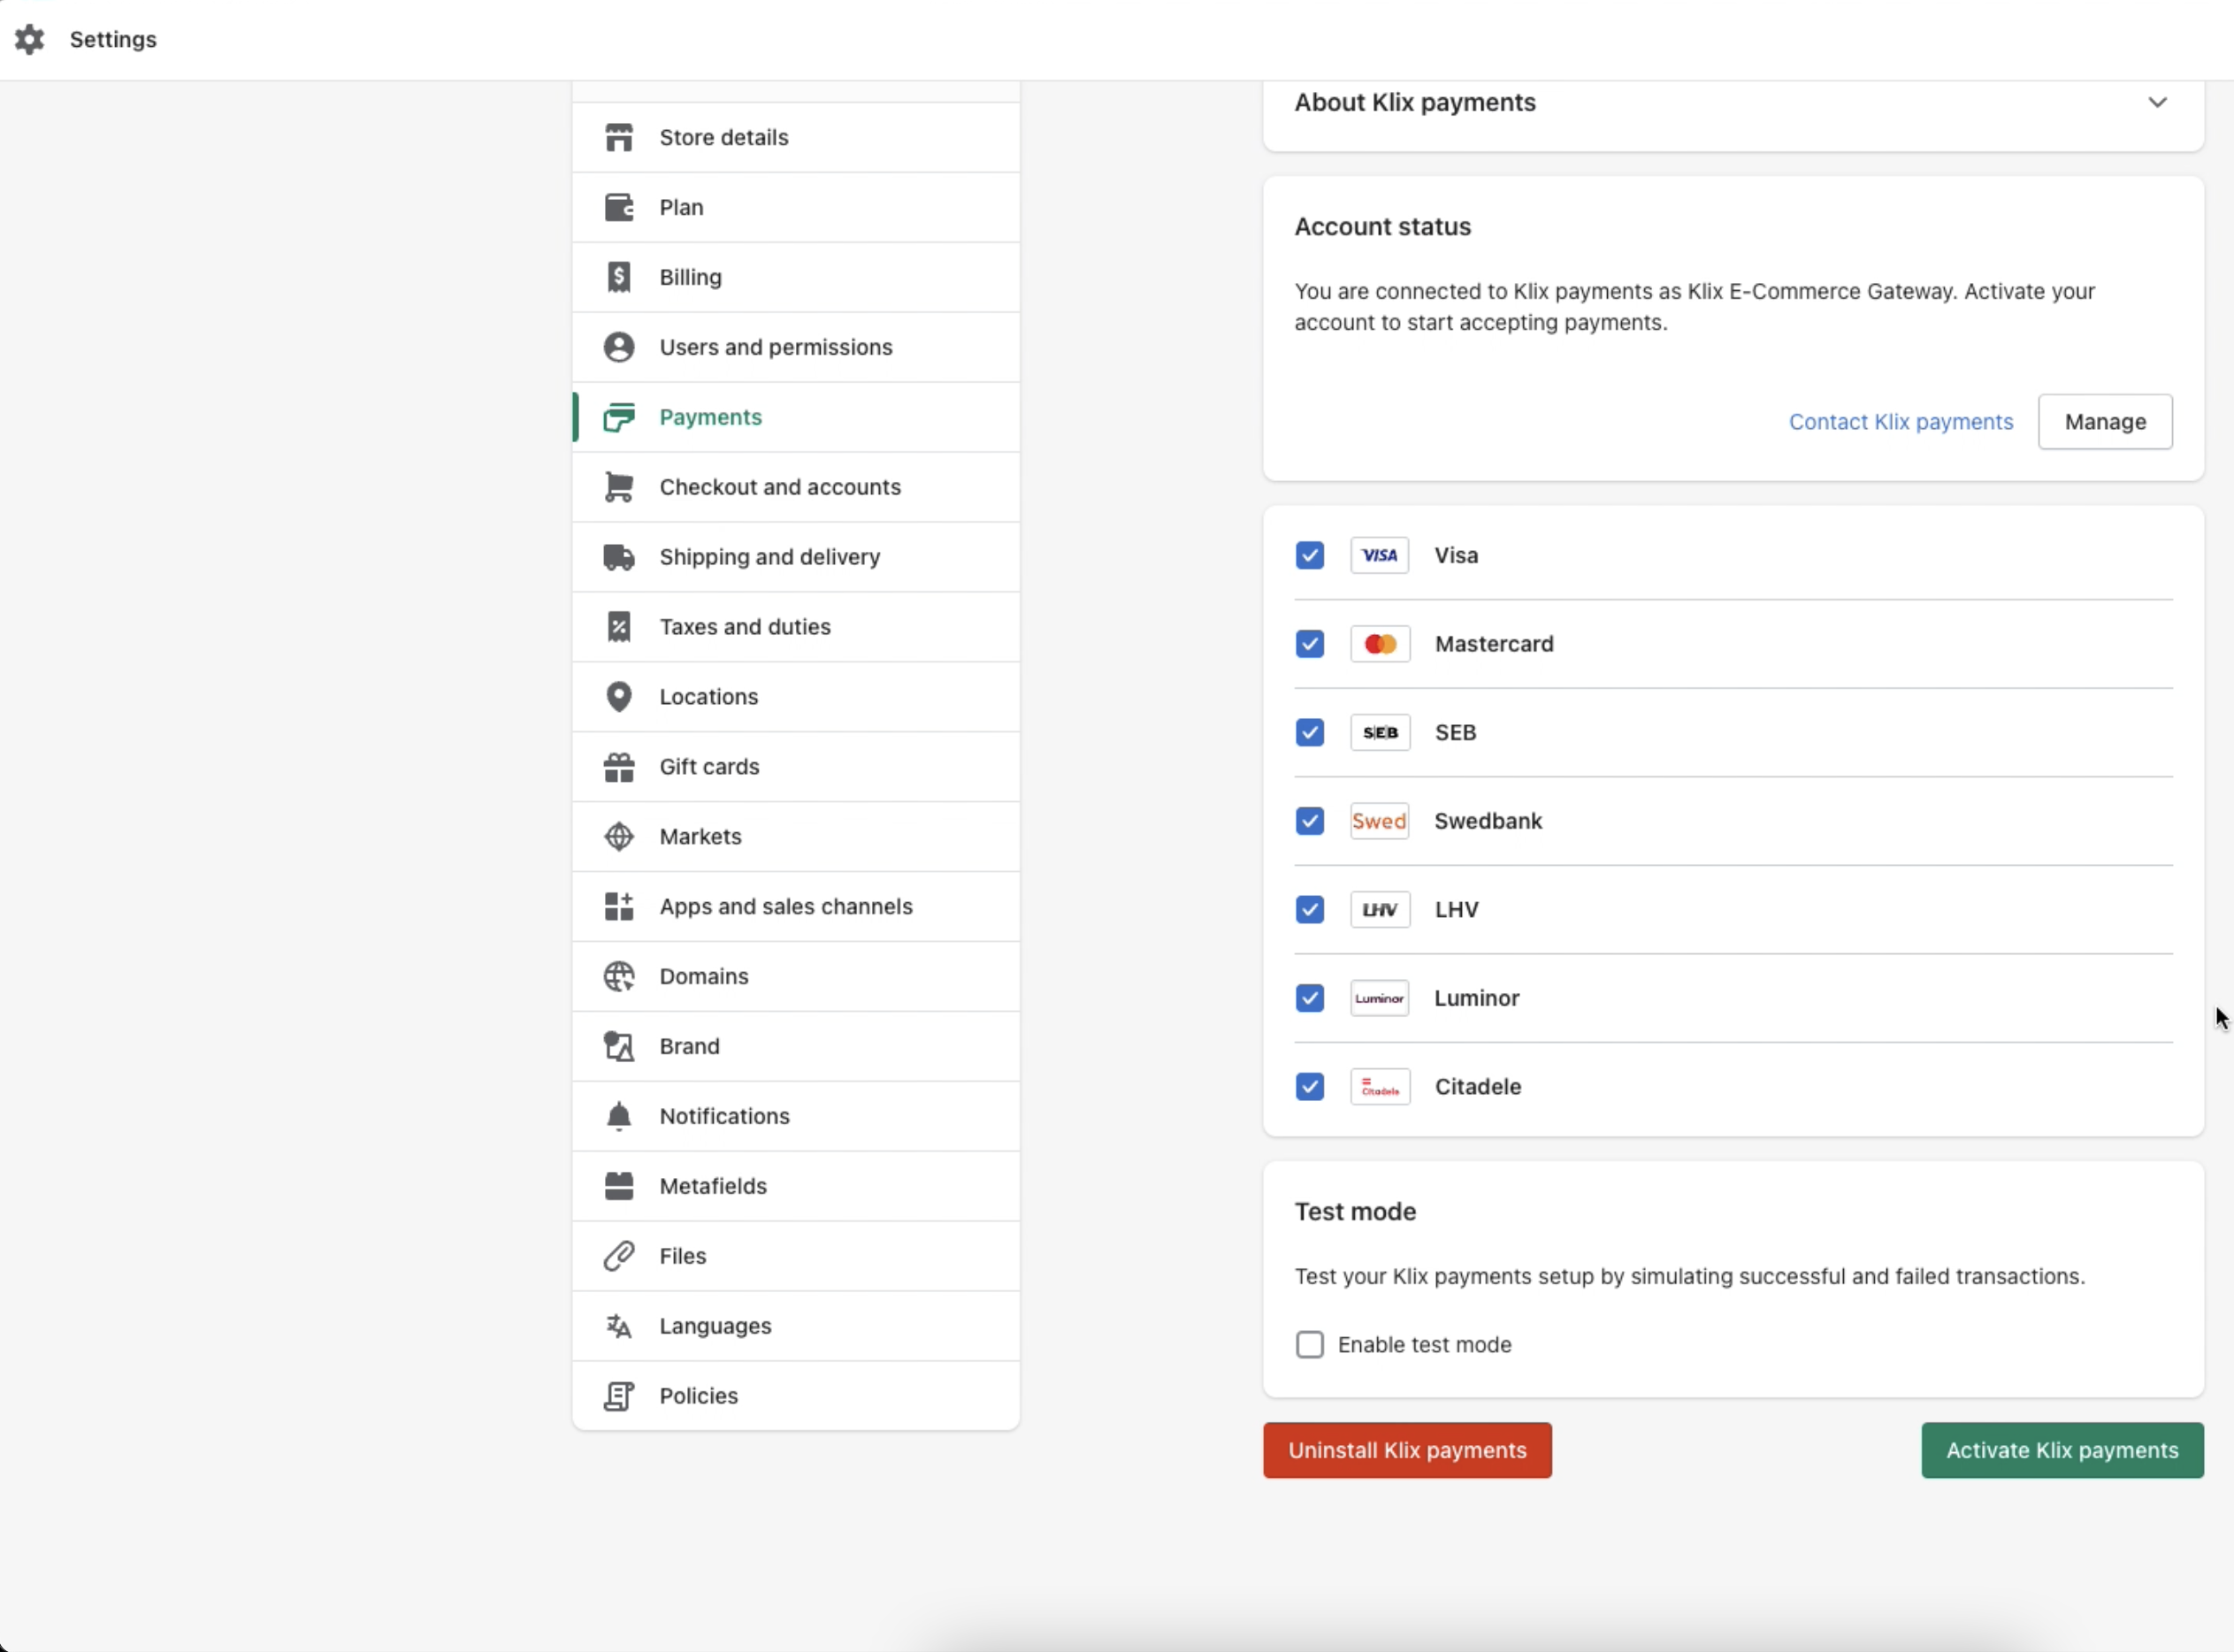
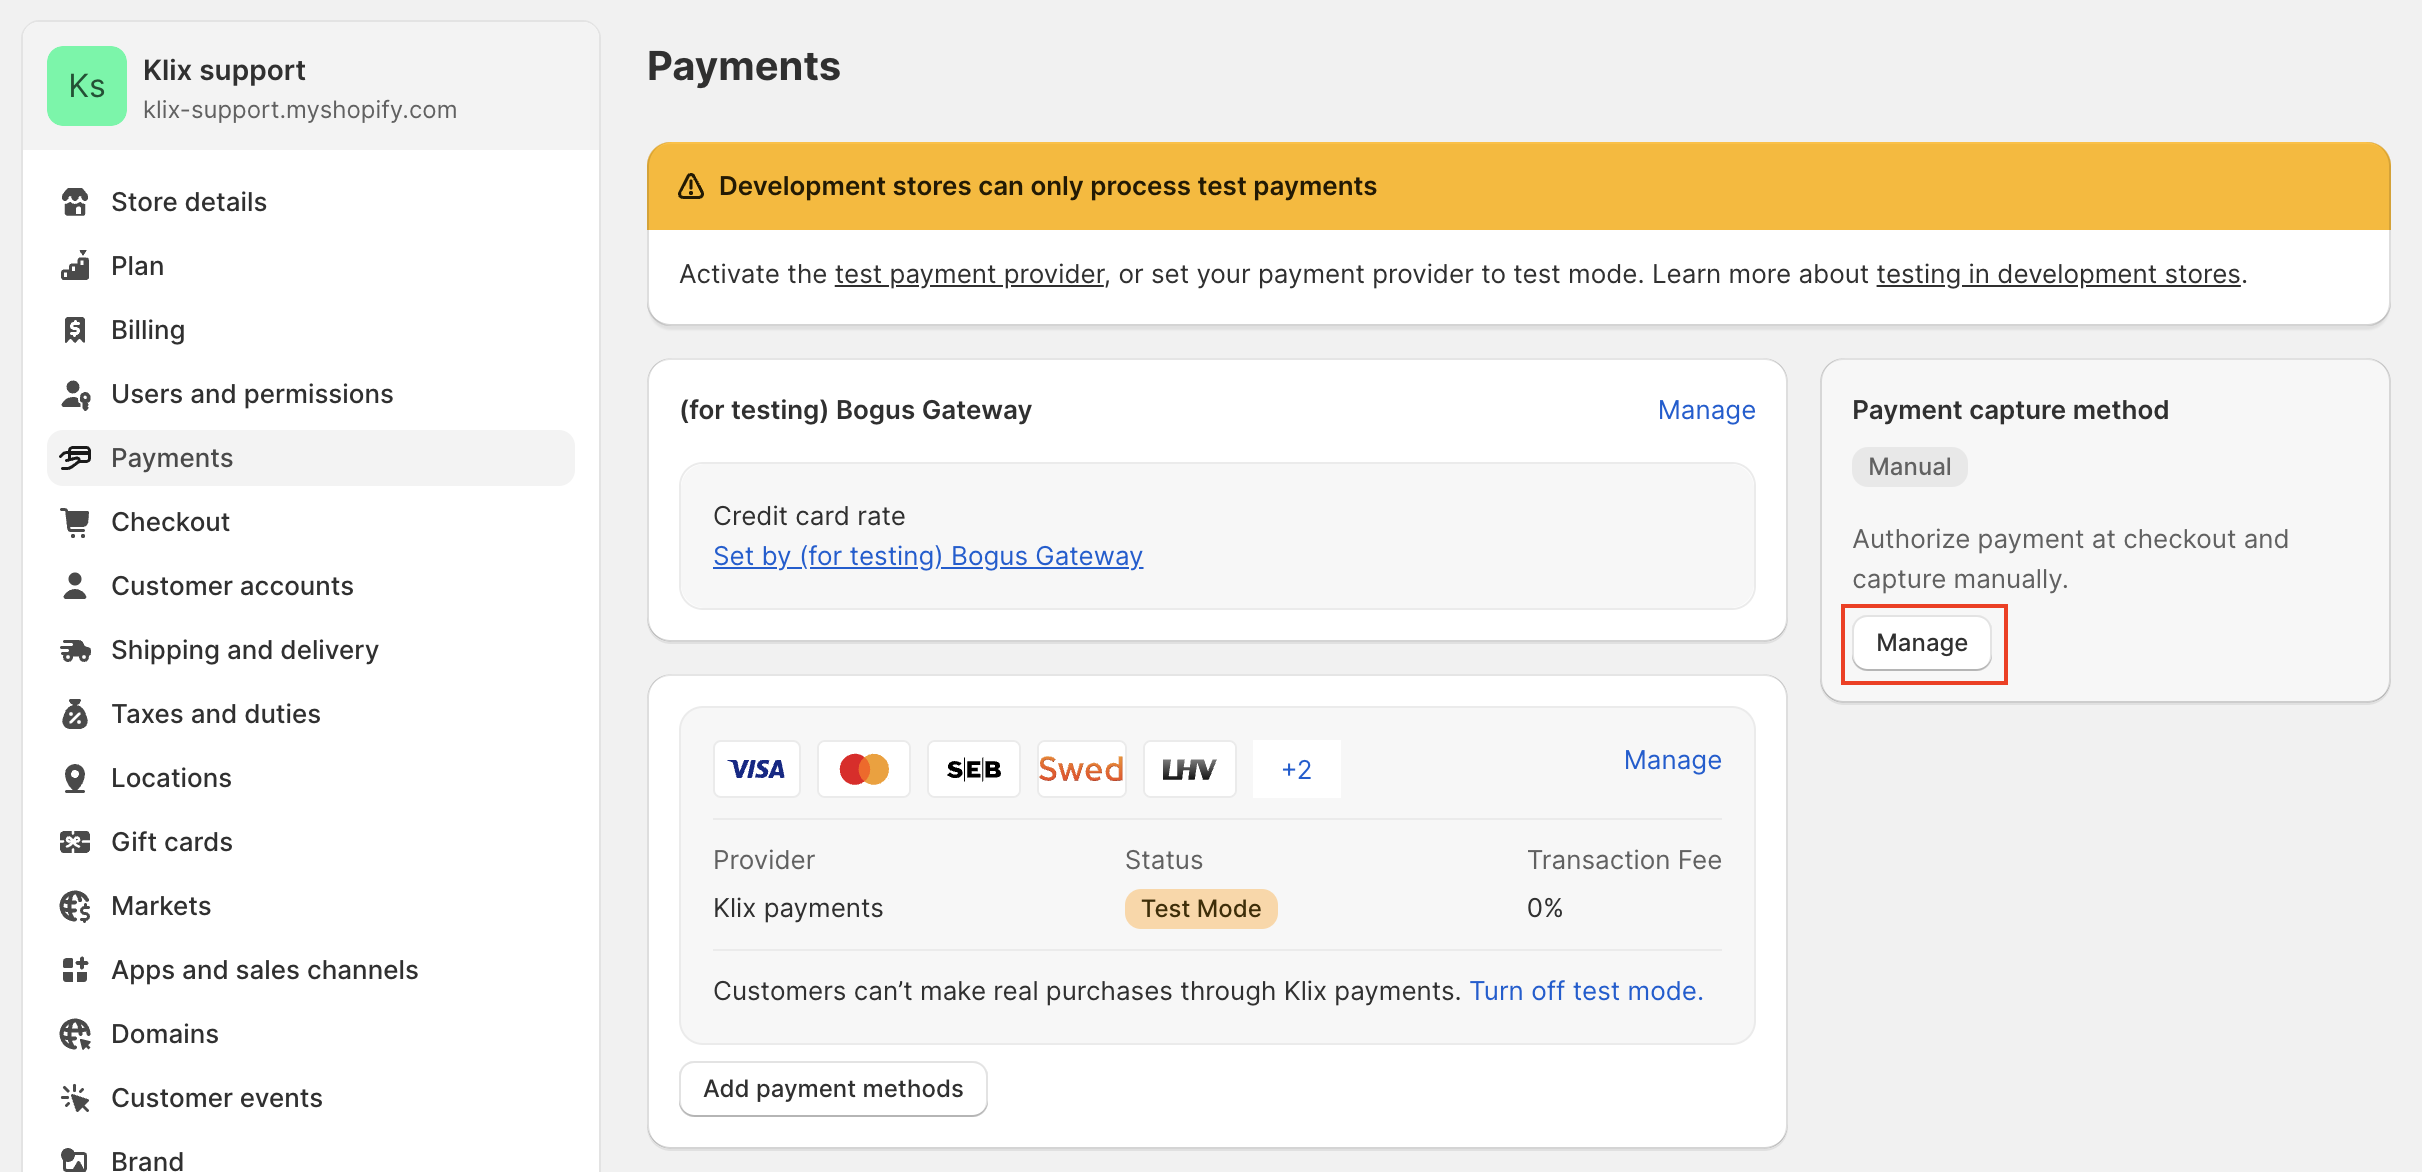
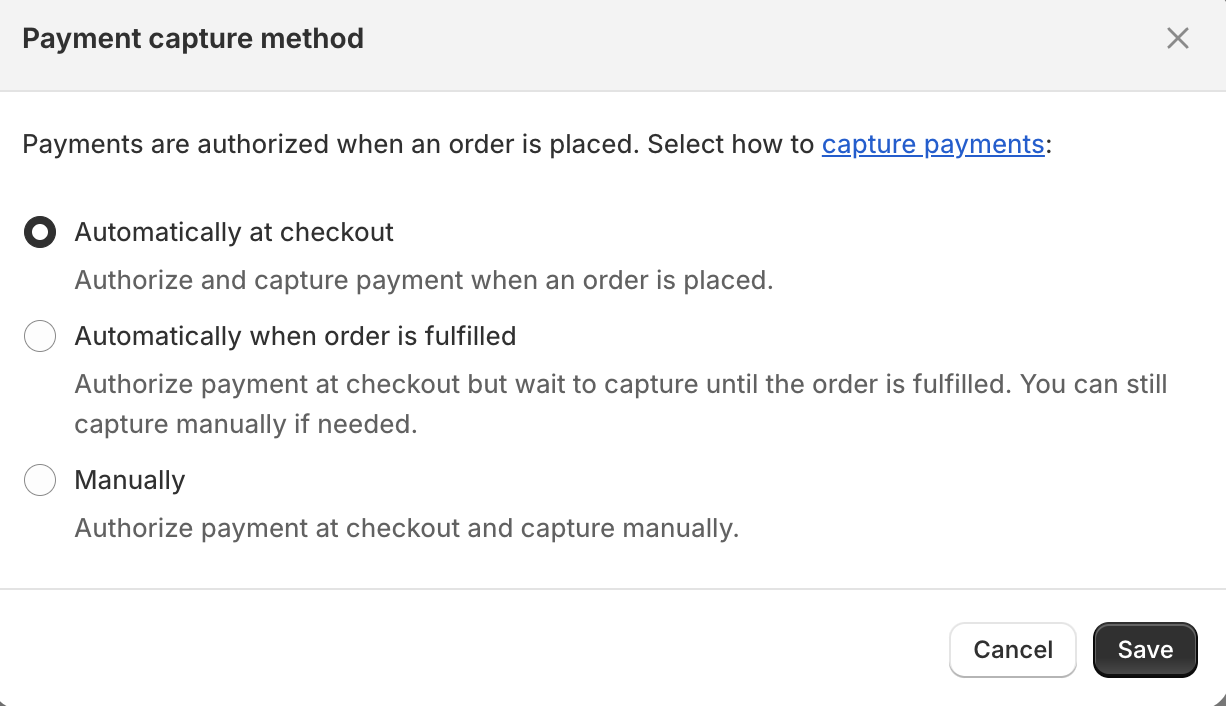
- Switch Payment capture method to automatically at checkout.
- Go to your Shopify store checkout page and check that Klix payment method is available. For test purposes please enable Enable test mode checkbox.
WooCommerce
Compatible versions: 3.5+
Installation instructions:
- Click on this link to download Klix WooCommerce plugin.
-
Log in to your WooCommerce store admin panel by specifying authentication credentials.
-
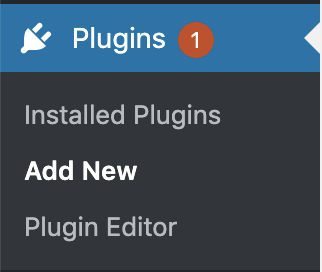
Open "Plugins" -> "Add new" section.
-
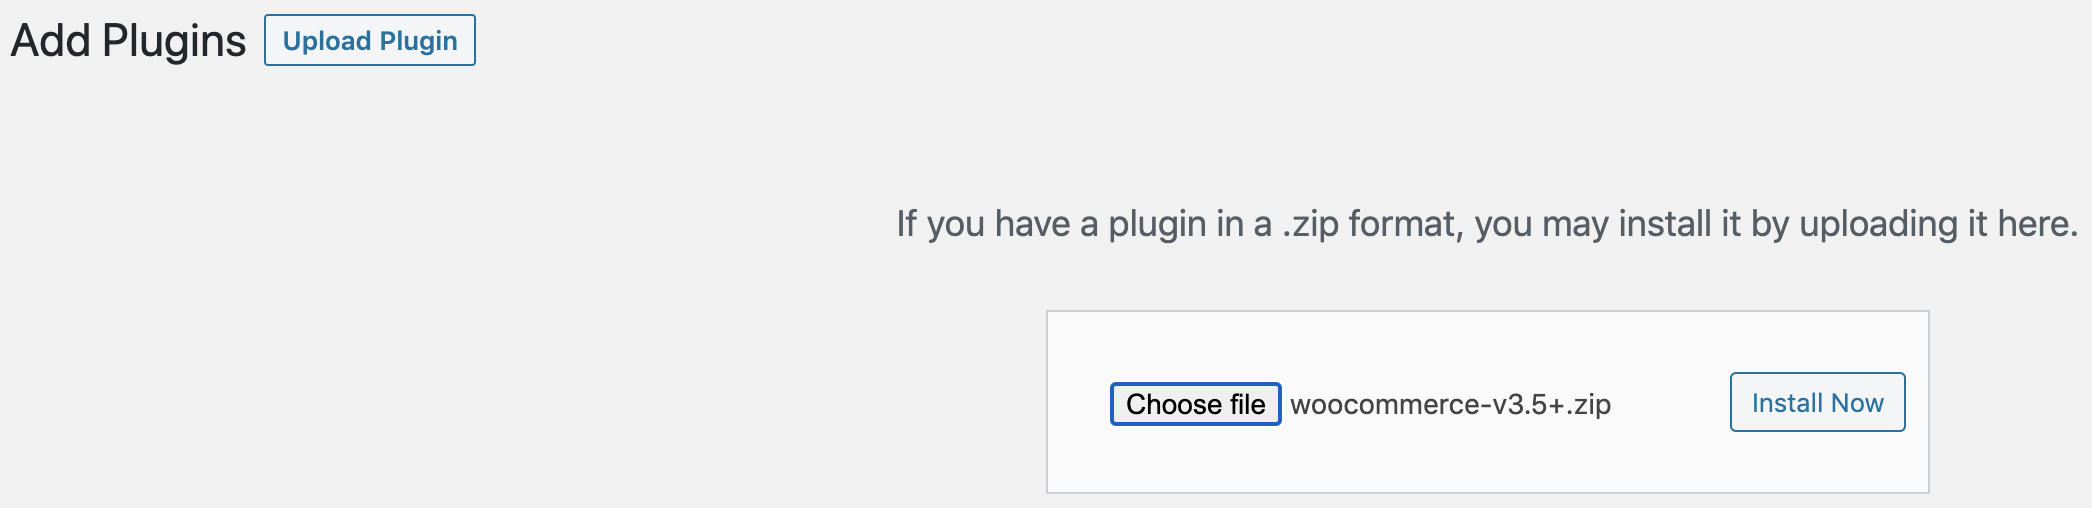
Press on "Upload Plugin" and select Klix WooCommerce plugin file downloaded in the first step, press "Install Now". In rare cases e.g. if your server is not configured to allow automatic installations you might need to install Klix WooCommerce plugin by manually transfering Klix plugin files onto the server. Follow these instructions in such case.
-
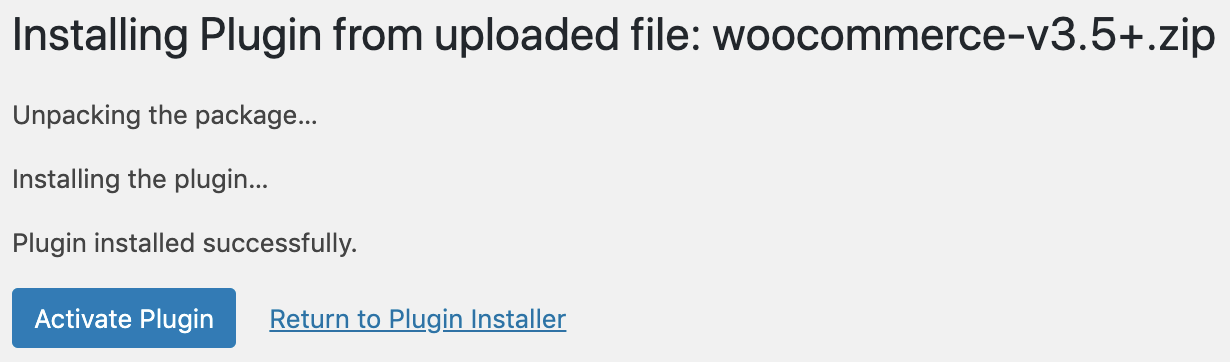
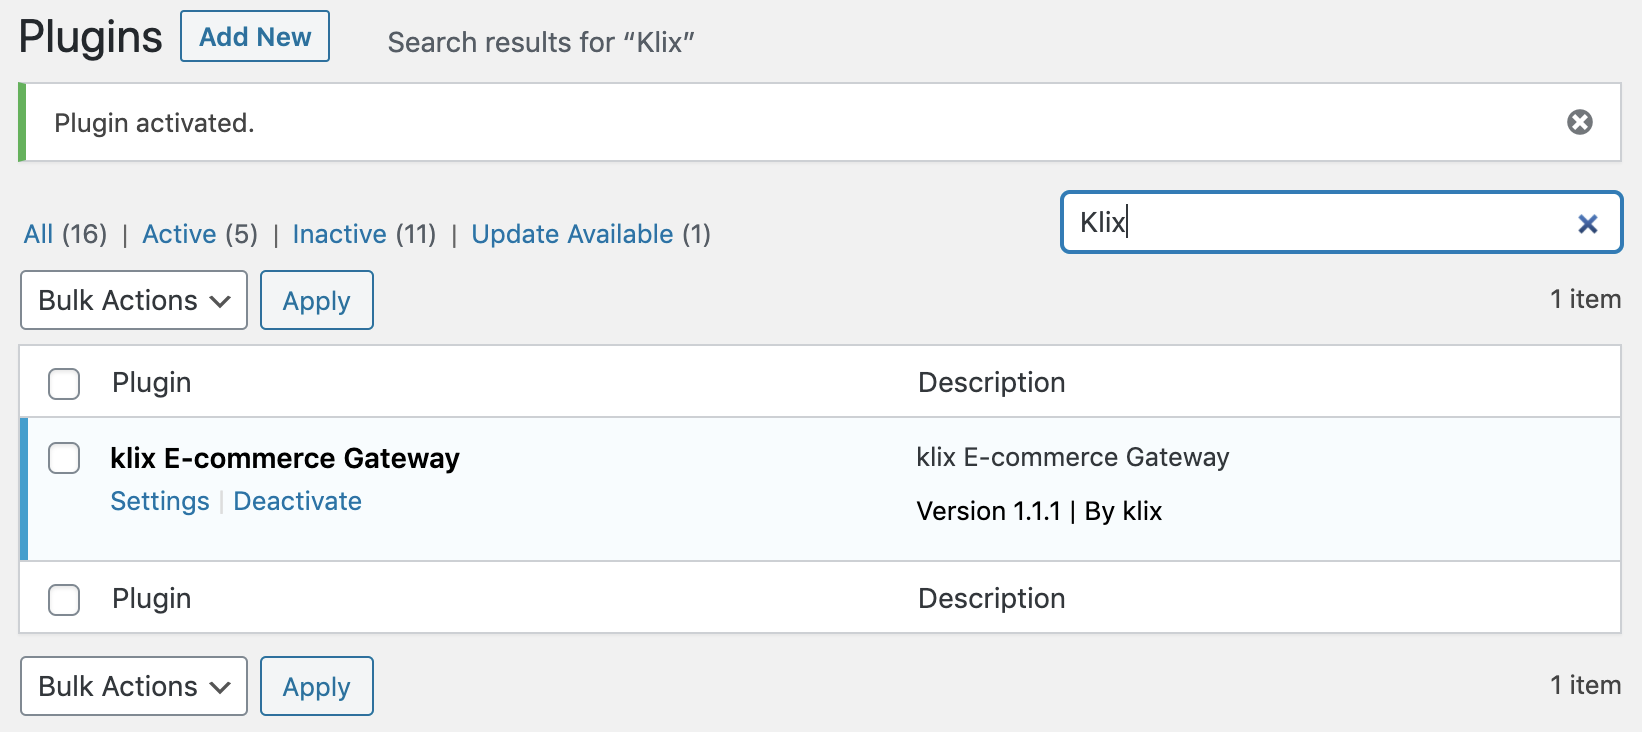
Press "Activate" button to activate installed Klix WooCommerce plugin.
-
Find Klix plugin and press on "Settings" link.
-
Enter Brand ID and Secret key provided by Klix contact person and check
Enable APIcheckbox.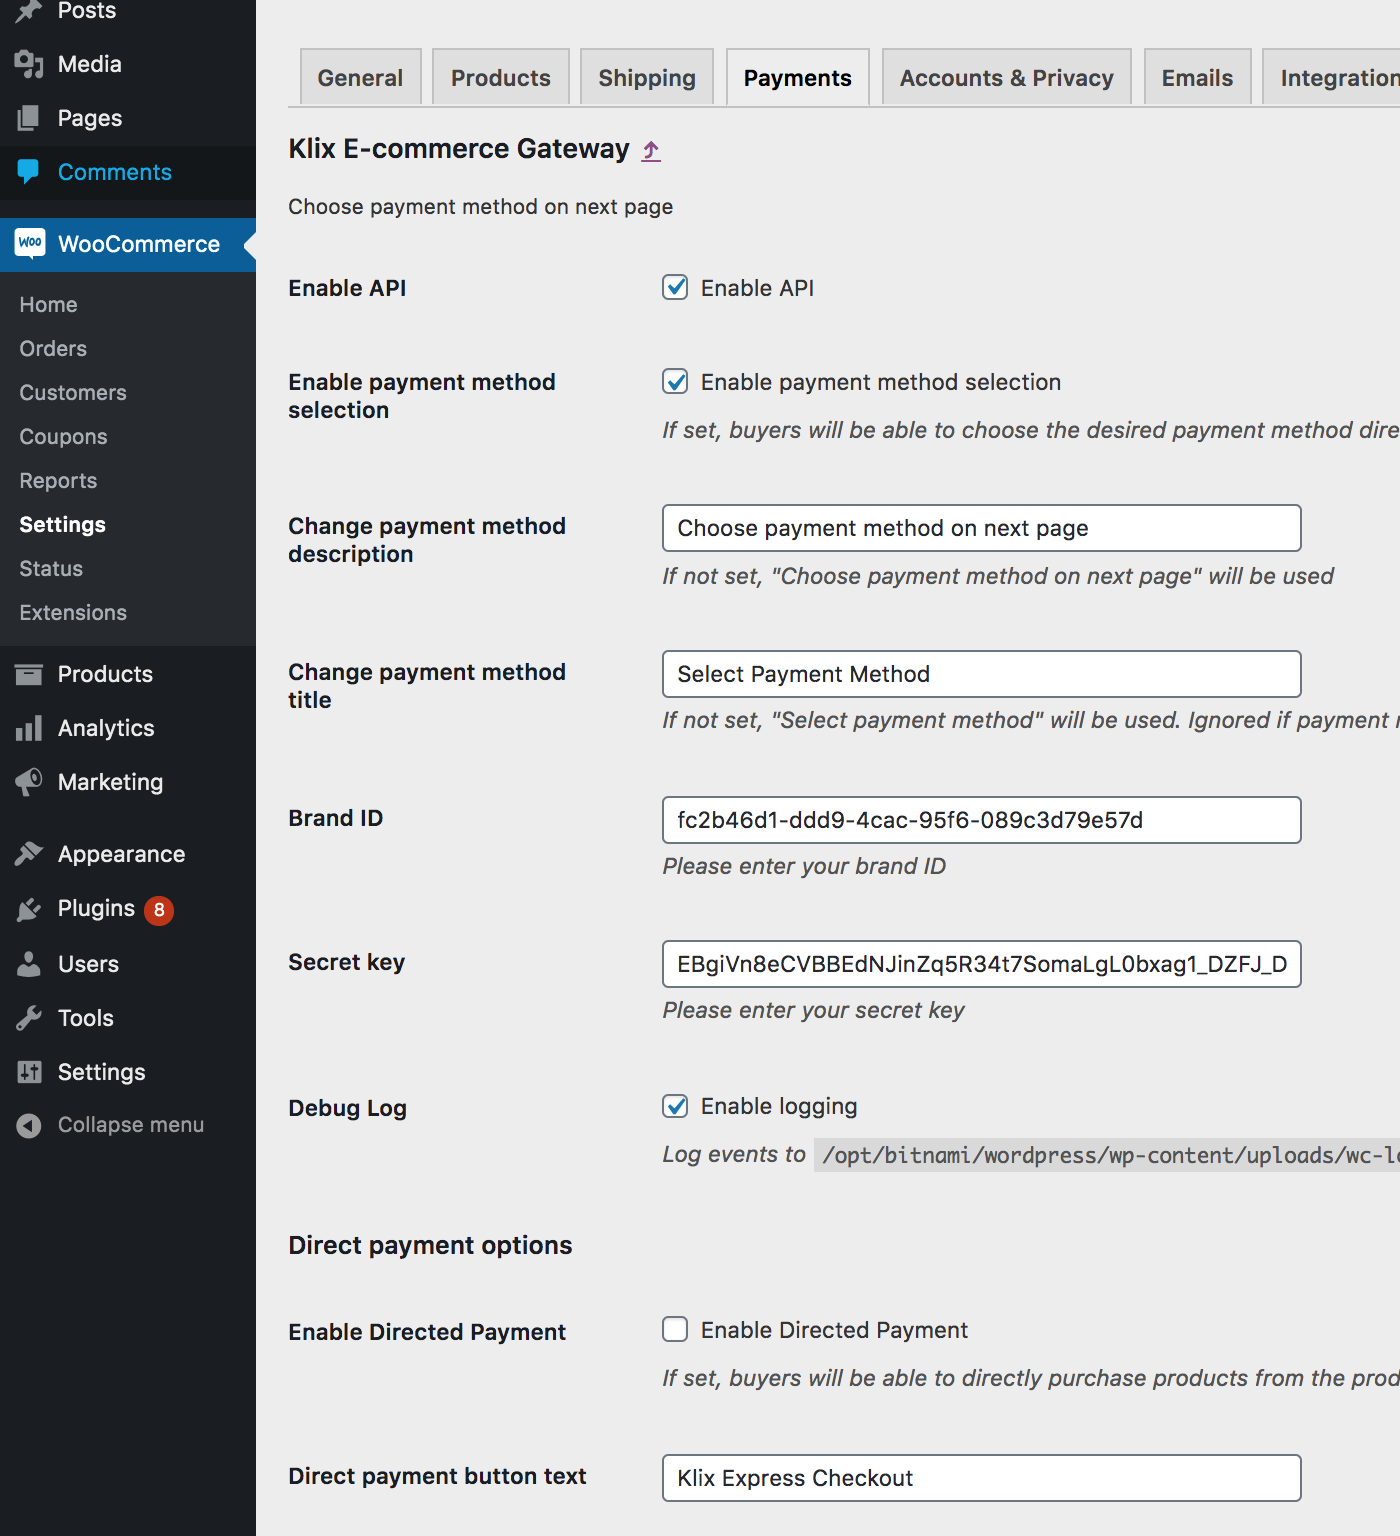
-
Go to your WooCommerce store checkout page and check that Klix payment method is available. It's advisable to test Klix integration using a real card.
